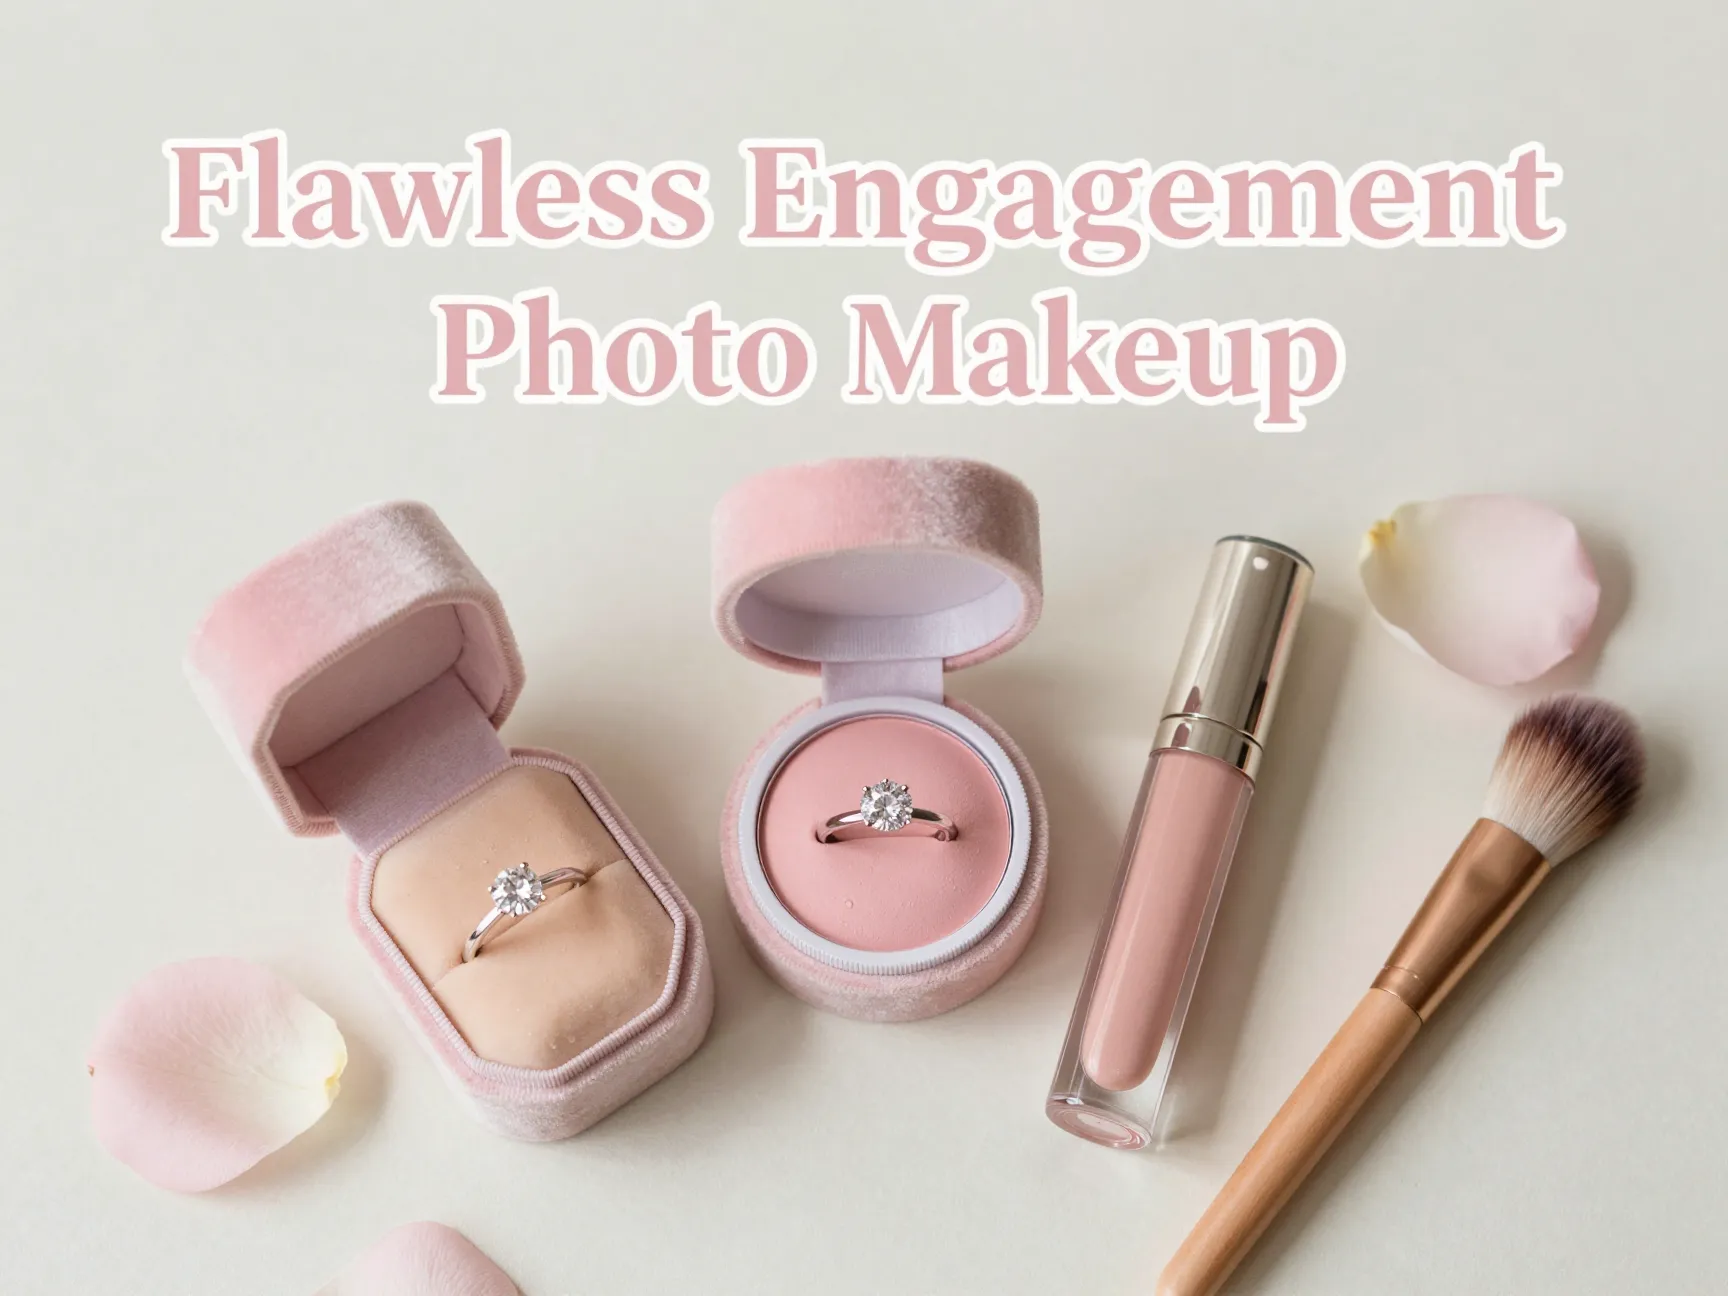
9 Essential Makeup Tips for Your Engagement Photos (Look Flawless!)
Your engagement photos will live on your fridge, your parents’ walls, and your wedding website for years to come — so looking absolutely stunning in them matters. 💍 Whether you’re planning a golden-hour outdoor shoot or a chic studio session, the right makeup can make the difference between photos you love and photos you hide. That’s why I’ve put together these 9 Essential Makeup Tips for Your Engagement Photos (Look Flawless!) — a complete, expert-backed guide to help you glow on camera in 2026 and beyond.
From choosing the right skin finish to picking lip shades that translate beautifully in photos, every detail counts. Let’s walk through everything you need to know so you can feel confident, comfortable, and camera-ready on your big day.
Key Takeaways
- ✅ Dewy, radiant skin is the gold standard for engagement photo makeup — it reads as healthy and luminous on camera.
- ✅ Lightweight, long-lasting formulas keep your look fresh throughout the entire shoot without feeling heavy.
- ✅ Strategic blush placement and a monochromatic color palette create a cohesive, romantic finish.
- ✅ Natural brows and soft eyeshadow photograph better than heavy, sculpted looks.
- ✅ Comfort matters — makeup that feels good on your skin will show in your expressions and photos.
Why Makeup for Engagement Photos Is Different from Everyday Makeup
Engagement photo makeup is not the same as your everyday look. Cameras — especially professional ones — pick up light, texture, and color very differently from the human eye. What looks perfect in your bathroom mirror can appear washed out, too heavy, or uneven on camera.
“The goal is makeup that looks refined in real life, flawless on camera, and comfortable on skin.” [6]
This means you need to think about:
| Factor | Everyday Makeup | Engagement Photo Makeup |
|---|---|---|
| Coverage | Light to medium | Buildable, photo-optimized |
| Finish | Matte or natural | Dewy, radiant |
| Blush | Subtle | Strategic and elevated |
| Longevity | A few hours | All-day, shoot-proof |
| Lip color | Personal preference | Camera-friendly nudes/glosses |
Understanding these differences is the foundation of every tip in this guide. Now, let’s get into the 9 Essential Makeup Tips for Your Engagement Photos (Look Flawless!).
9 Essential Makeup Tips for Your Engagement Photos (Look Flawless!)
1. Start with a Soft Glam Bridal Base
The best engagement photo makeup starts with a soft glam approach — a look that combines your natural beauty with just enough definition to photograph beautifully. [2]
This means choosing a light-to-medium coverage foundation that lets your natural features show through while still providing polish and evening out your skin tone. Heavy, full-coverage foundations can look cakey under camera flash or bright natural light.
What to look for in a foundation:
- Buildable coverage (so you can add more where needed)
- A finish that photographs as healthy, not flat
- A shade that matches your neck — not just your face
The soft glam bridal look is timeless. It won’t look dated in five years, and it lets you shine through — not just your makeup. [3]
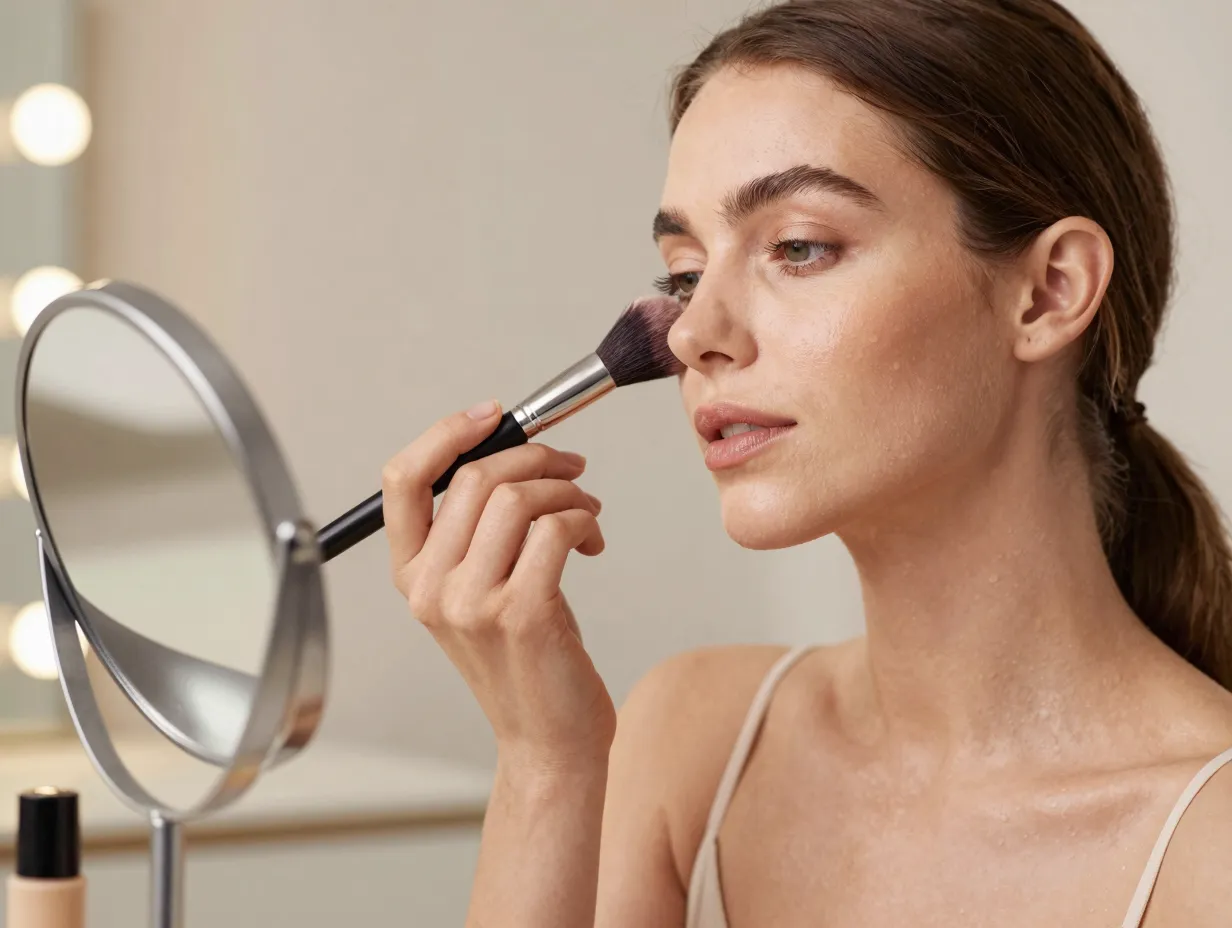
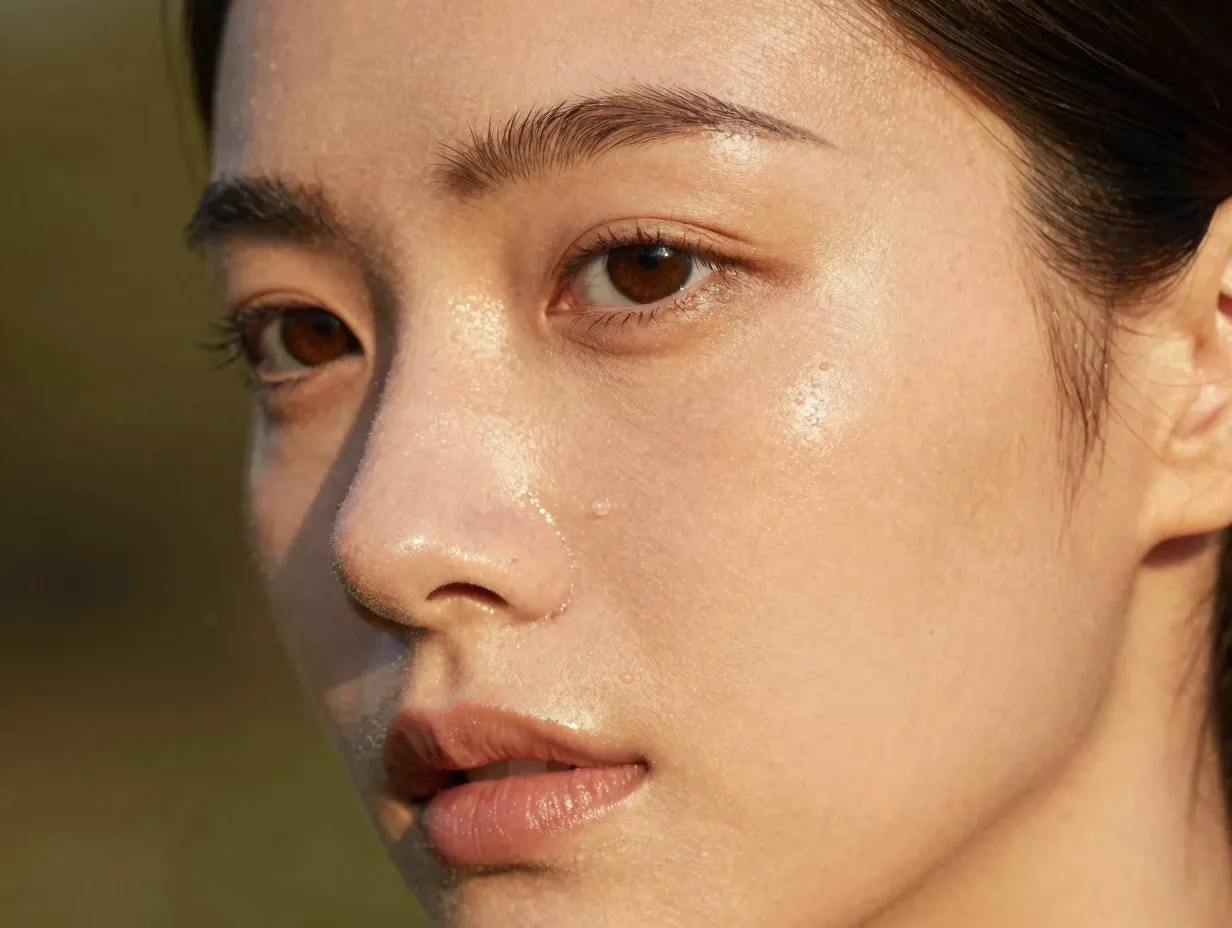
2. Use Dewy Skin as Your Foundation Finish
If there’s one rule for engagement photo skin, it’s this: go dewy, not matte. [1]
A dewy finish creates a healthy, radiant glow that looks youthful and luminous in both natural light and studio photography. It reads as fresh and hydrated on camera — never oily or greasy when done correctly.
How to achieve the perfect dewy finish:
- Start with a hydrating primer to prep your skin.
- Choose a foundation with a satin or dewy finish.
- Set only your T-zone with a light dusting of translucent powder.
- Finish with a fine facial mist to lock in that glow.
💡 Pro Tip: Avoid setting your entire face with powder. Over-powdering flattens the skin and kills that beautiful, lit-from-within look that cameras love.
Matte finishes can look flat and dull in photos, especially in outdoor or natural light settings. Dewy skin, on the other hand, catches the light in all the right ways. [1]
3. Invest in Photo-Optimized Concealer
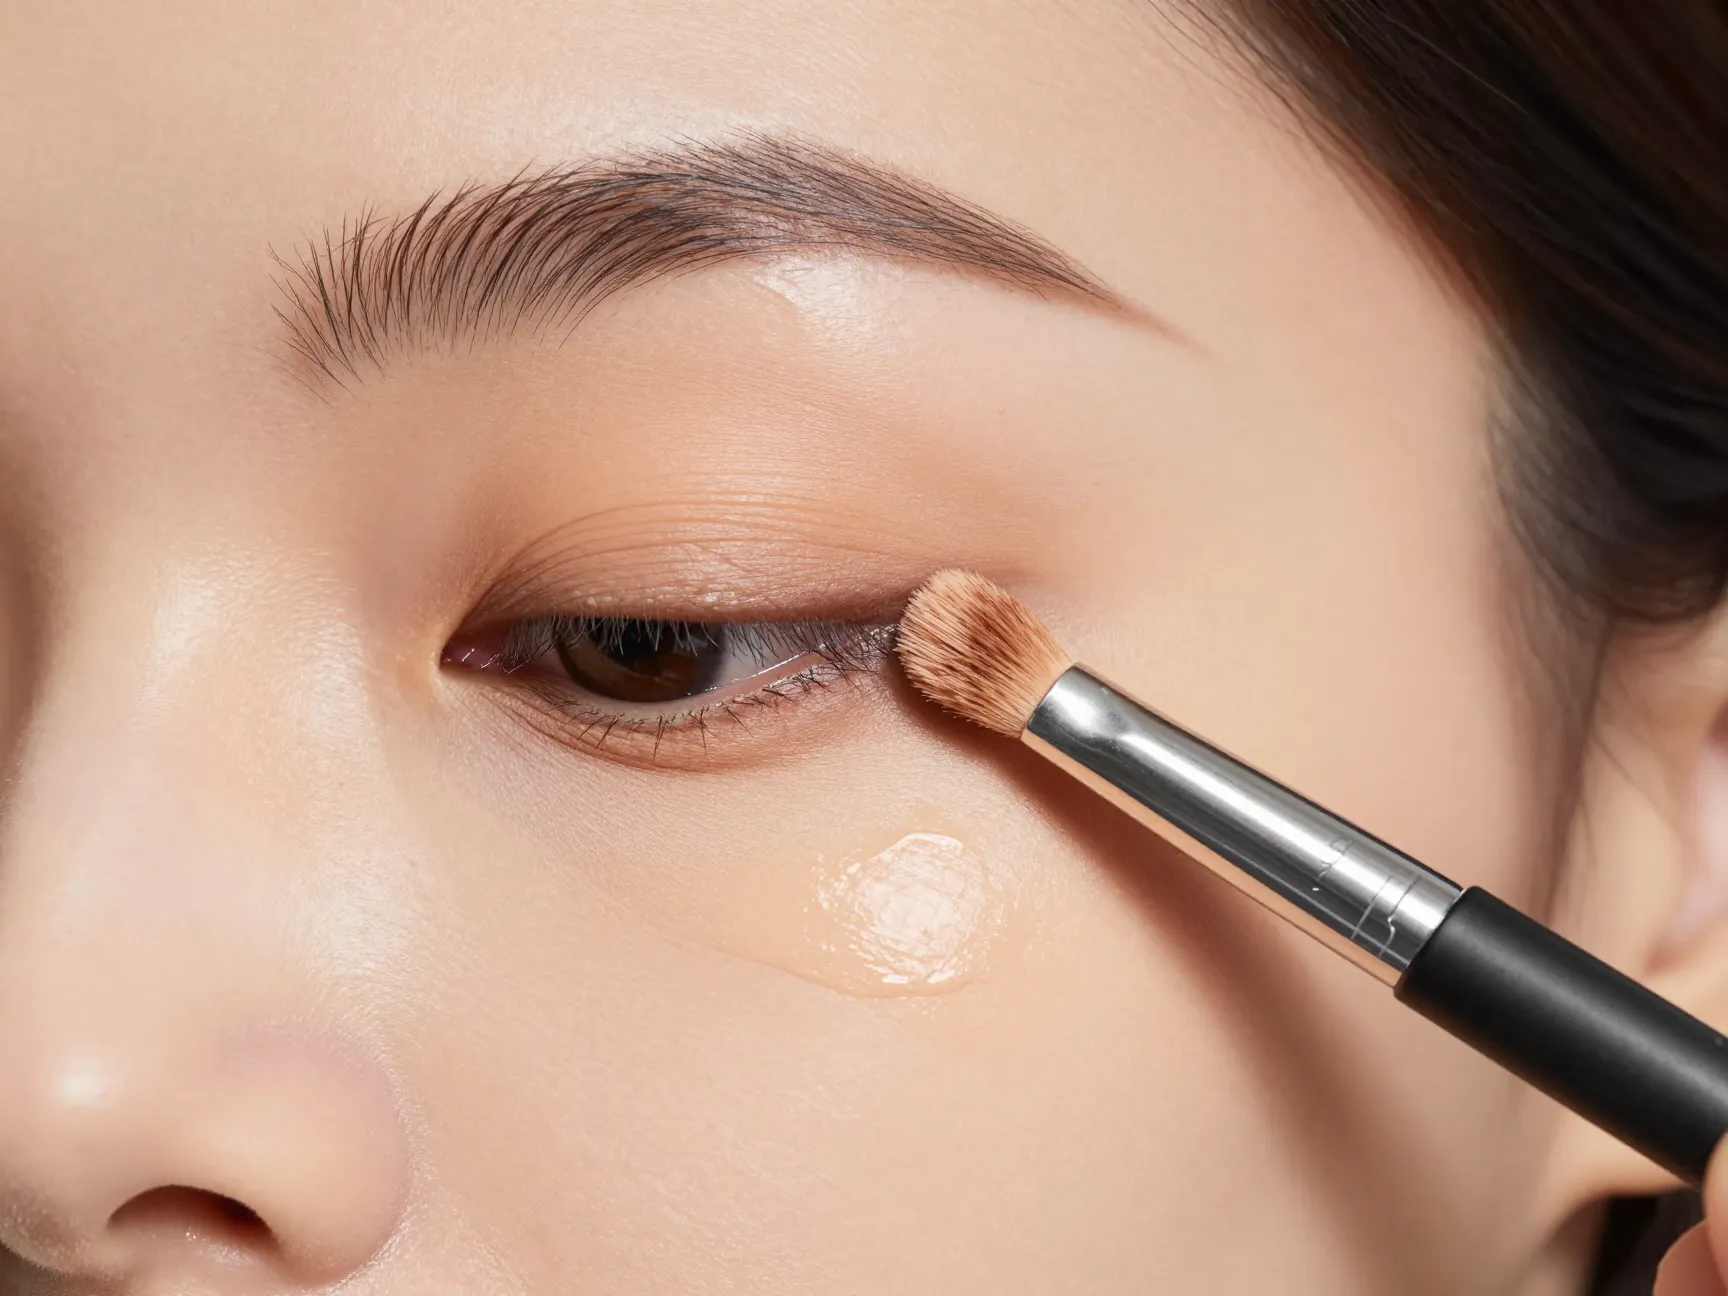
Concealer is your secret weapon for engagement photos — but only if you choose the right formula. [2]
For a smooth, filter-like finish that holds up on camera, look for concealers that offer full coverage without creasing. Products like the Tarte Shape Tape Concealer are frequently recommended by professional makeup artists for their ability to cover imperfections while maintaining a natural, skin-like texture. [2]
Where to apply concealer for photos:
- Under the eyes (blend carefully to avoid a cakey look)
- Around the nose and mouth
- On any blemishes or redness
- Along the jawline for a seamless blend
Avoid: Concealers that are too light for your skin tone. In photos, overly bright under-eye concealer can create a “flashback” effect — a white, ghostly patch that’s very visible on camera.
The key is to color-match precisely and blend, blend, blend.
4. Embrace Strategic Blush Placement
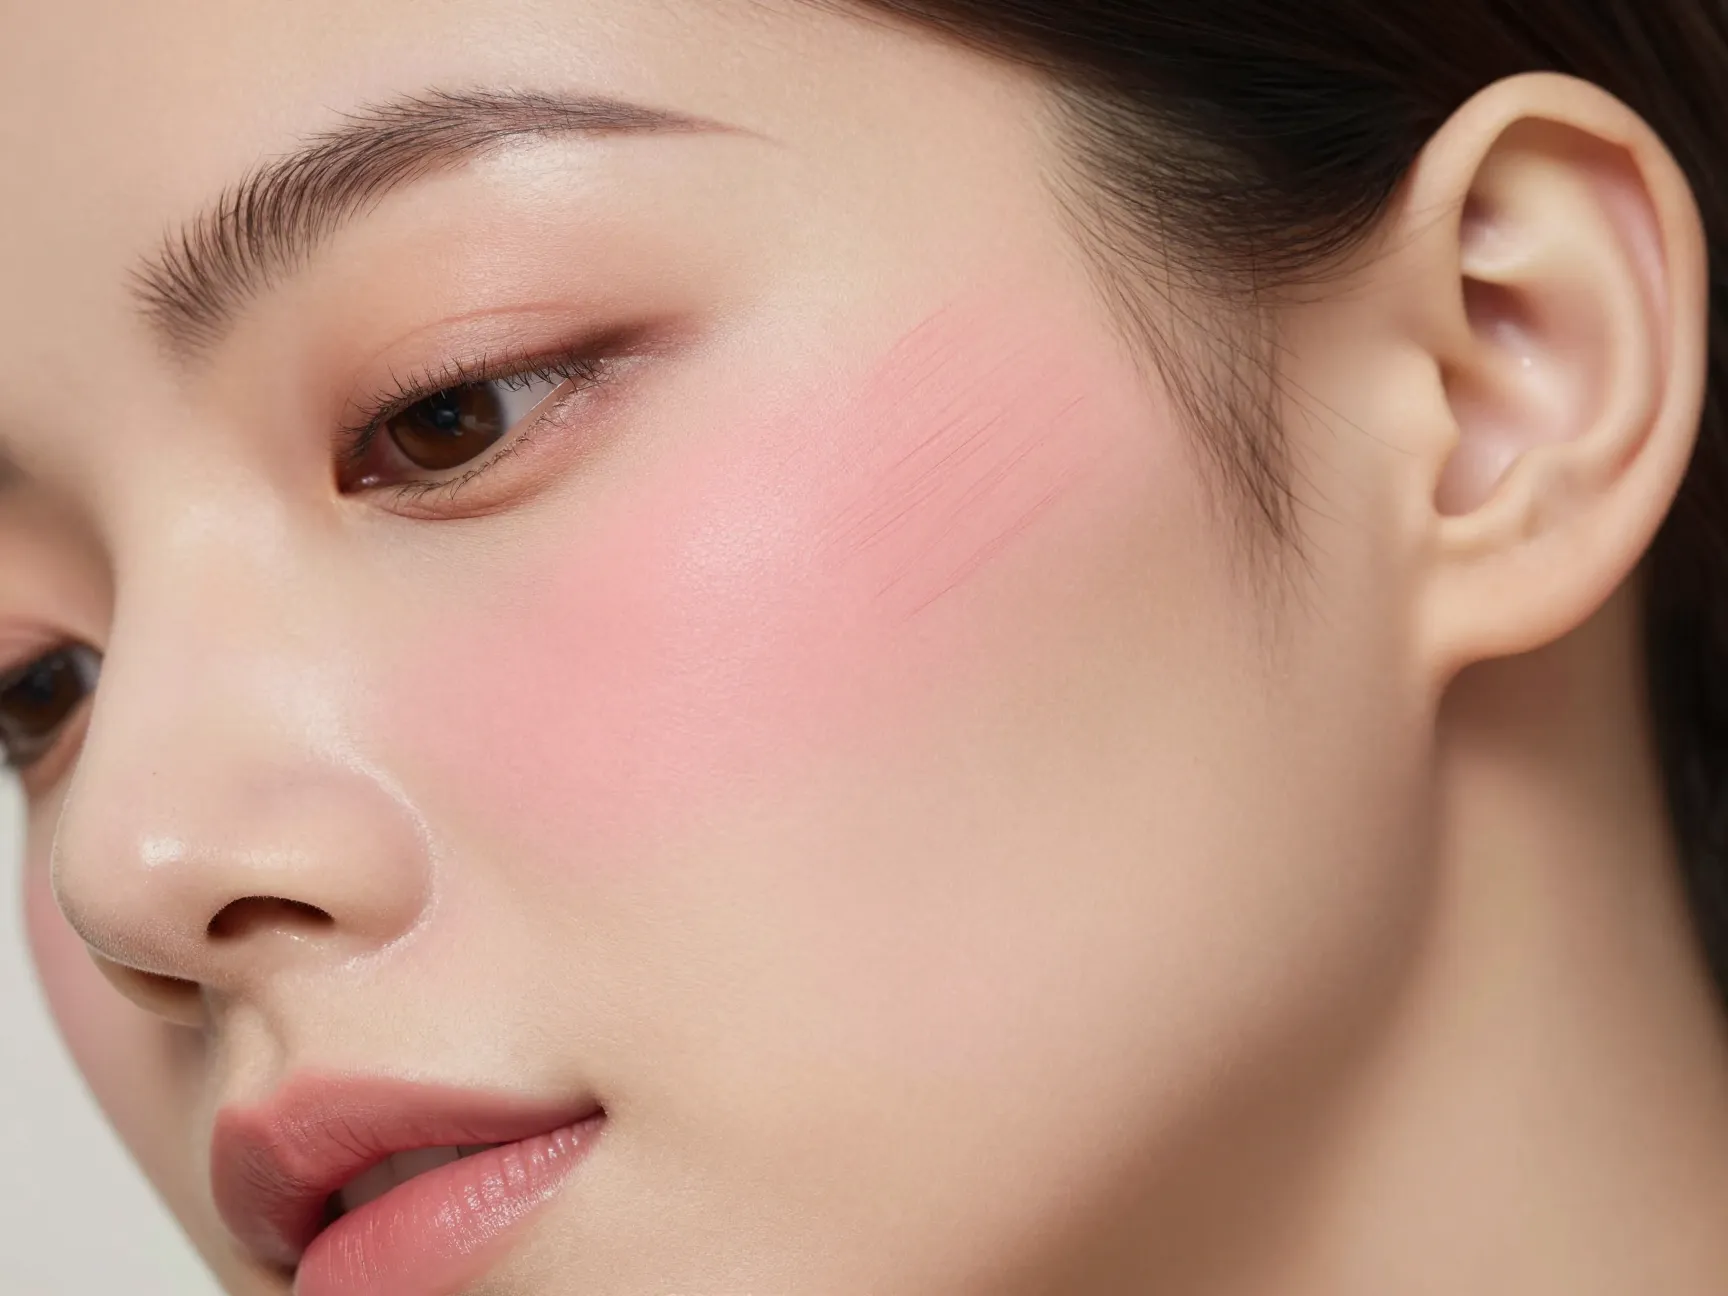
Blush is one of the most powerful tools in your engagement photo makeup kit — but placement is everything. [1][5]
Instead of applying blush to the apples of your cheeks (which can look childish in photos), apply it higher on the cheekbones and blend upward toward the temples. This technique creates dimension, lifts the face, and keeps you looking radiant and glowing throughout the shoot. [5]
Best blush shades by skin tone:
| Skin Tone | Recommended Shades |
|---|---|
| Fair | Soft pink, baby peach |
| Medium | Coral, warm rose |
| Olive | Terracotta, warm peach |
| Deep | Berry, rich coral, warm bronze |
Cream vs. powder blush for photos:
- Cream blush blends into the skin for a natural, dewy finish — ideal for that glowing look.
- Powder blush offers more longevity and is easier to build up for a bolder look.
Many professional makeup artists recommend layering — a cream blush base topped with a light powder blush — for the best of both worlds. [1]
5. Choose Natural Brows Defined with Tinted Gel
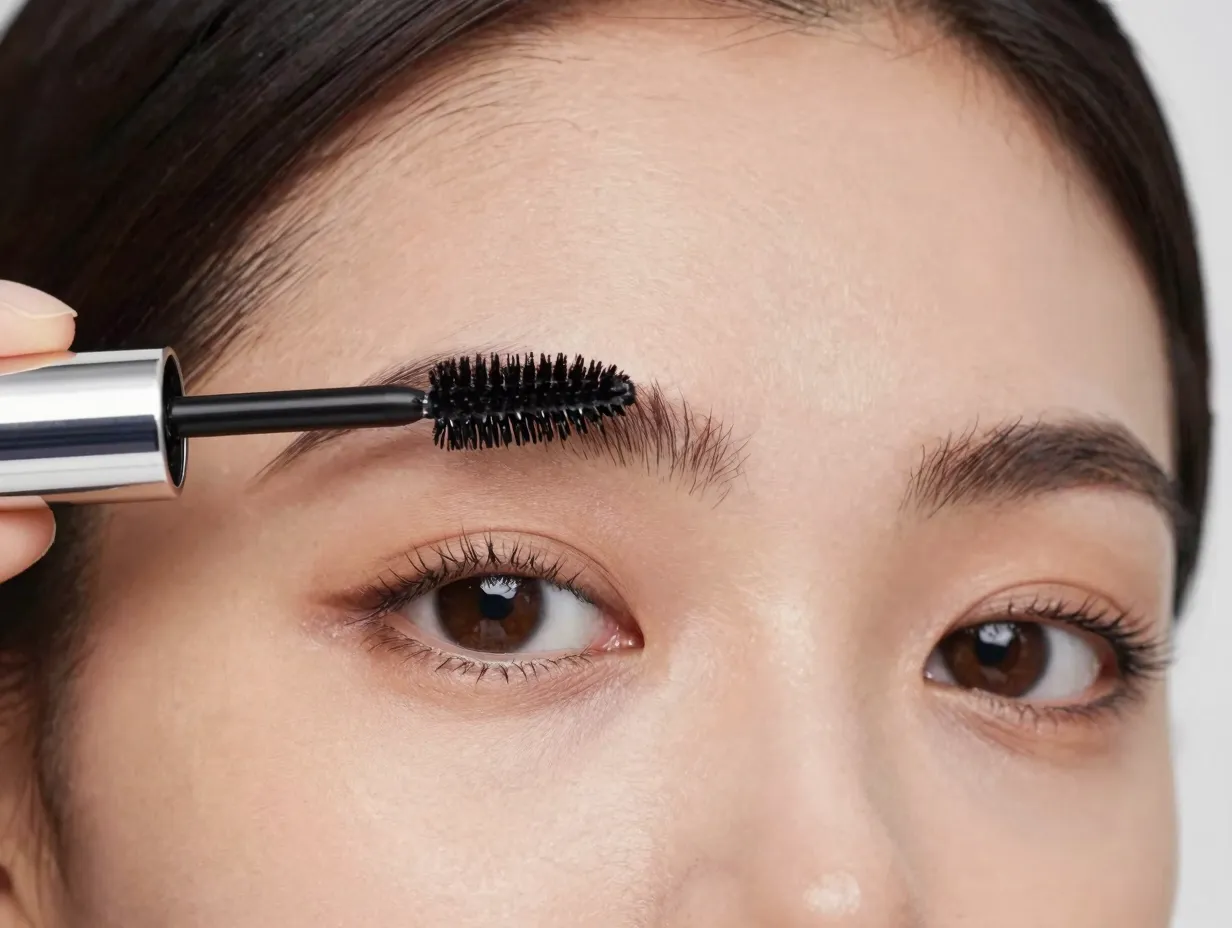
Your brows frame your entire face, and in photos, they matter more than you might think. [1]
The 2026 trend in bridal and engagement makeup is firmly in favor of natural, defined brows over heavily sculpted or overly filled arches. Professional makeup artists recommend using a tinted brow gel to groom and define your natural brow shape without making them look drawn-on or harsh. [1]
“Natural brows with tinted brow gel create a soft, classy look that photographs beautifully and feels timeless.” [1]
Why avoid heavy brow products for photos?
- Harsh, dark brow pencil can look unnatural and severe on camera.
- Overly sculpted brows can date your photos quickly.
- Natural brows age better in photos — you’ll love them in 10 years.
For extra definition, consider a Prada brow mascara or similar high-quality tinted gel that adds texture and depth while keeping brows looking effortlessly groomed. [2]
6. Select Eyeshadow That Photographs Well
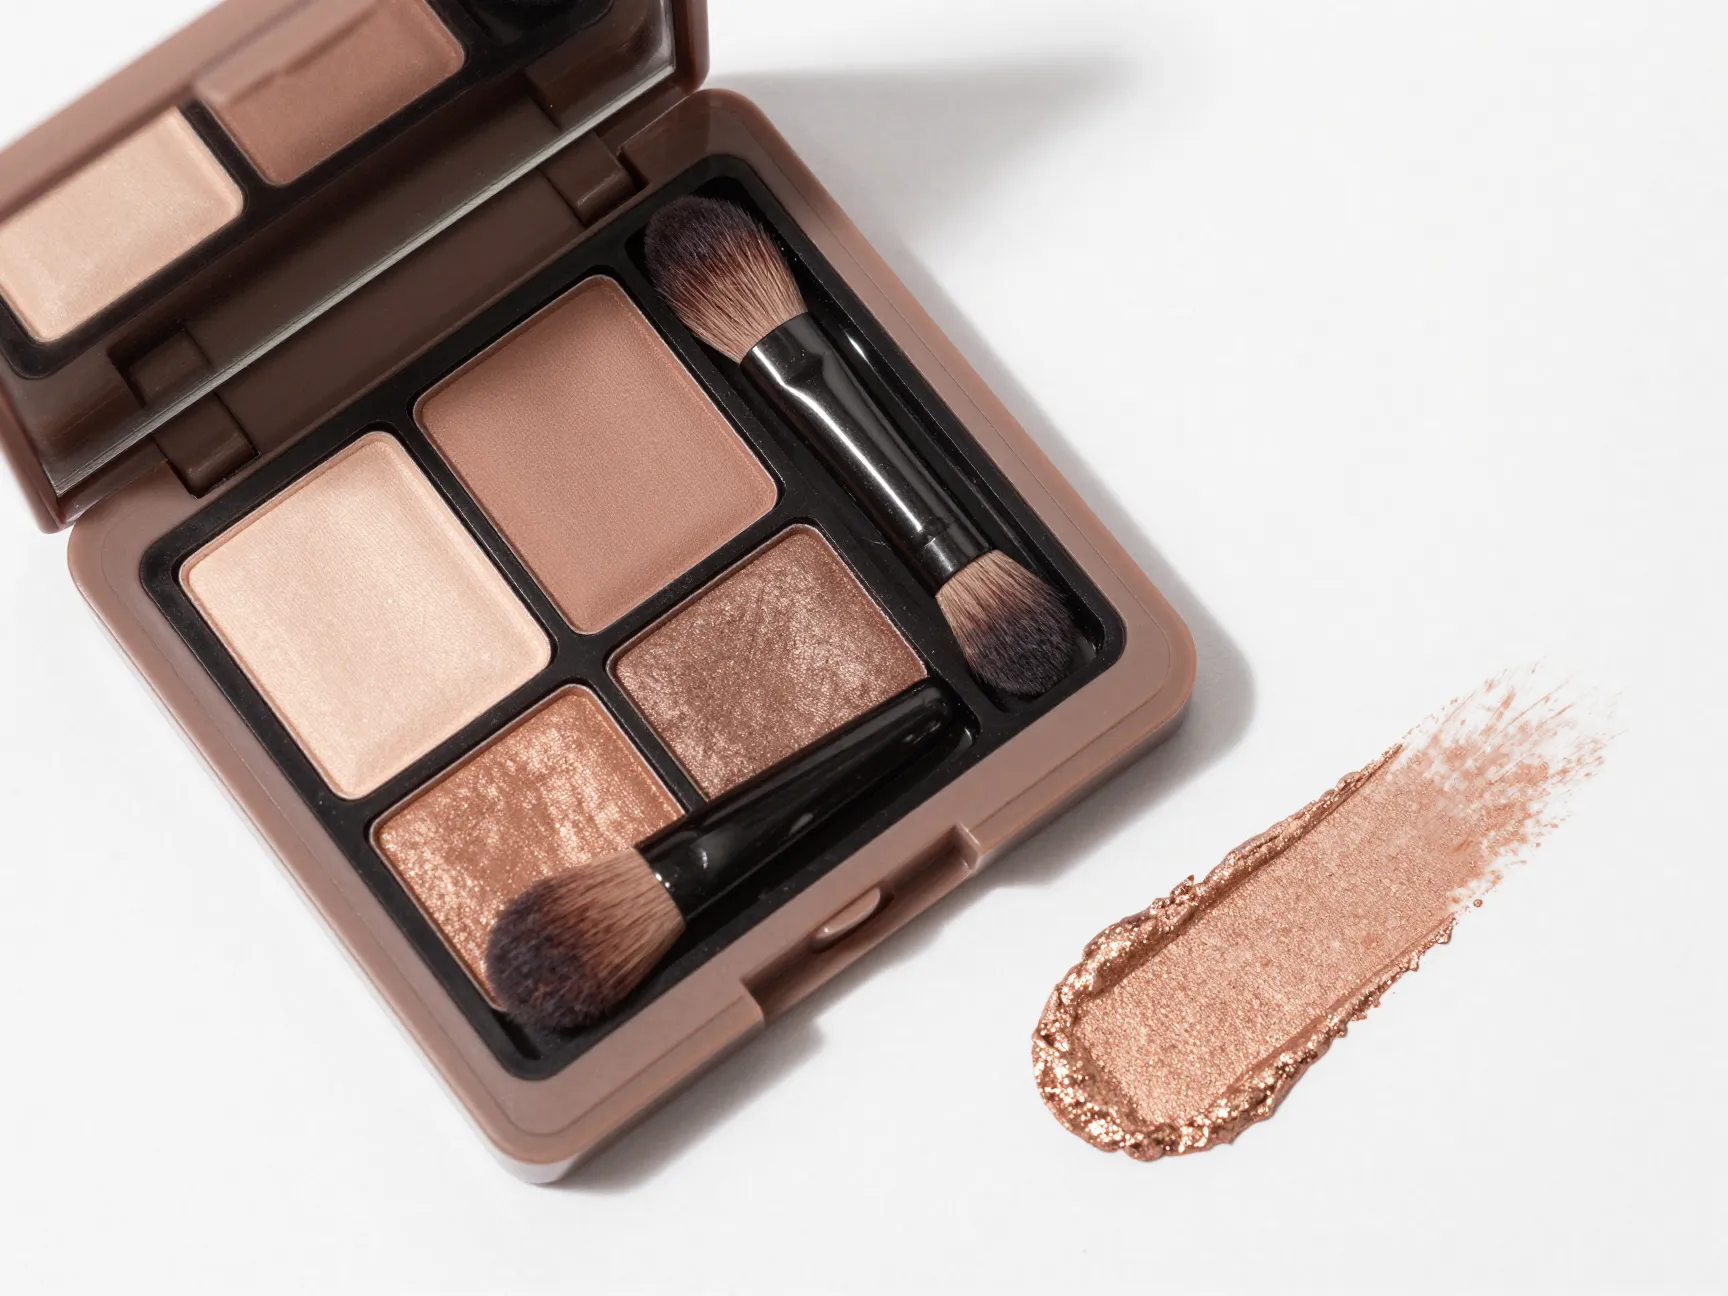
Not all eyeshadow translates well on camera. Heavy glitter, chunky shimmer, or overly dark shades can look muddy or harsh in photos. [3][1]
For engagement photos, the sweet spot is soft, wearable eyeshadow that adds depth and dimension without overpowering your features.
Best eyeshadow choices for engagement photos:
- Soft browns and taupes — universally flattering, add depth without drama.
- Pearlescent and golden-bronze tones — catch the light beautifully and add warmth. [3]
- Champagne and rose gold — romantic and luminous, perfect for outdoor shoots.
- Muted mauves — elegant and timeless for studio settings.
What to avoid:
- Heavy black or charcoal all over the lid
- Chunky glitter (micro-shimmer is fine)
- Neon or very saturated colors
A suede bronzer applied to the eyelid crease can also add warmth and depth in a modern, unexpected way — a trend that’s gaining traction in 2026 bridal beauty. [3][4]
7. Apply Subtle Eye Definition with Quality Products
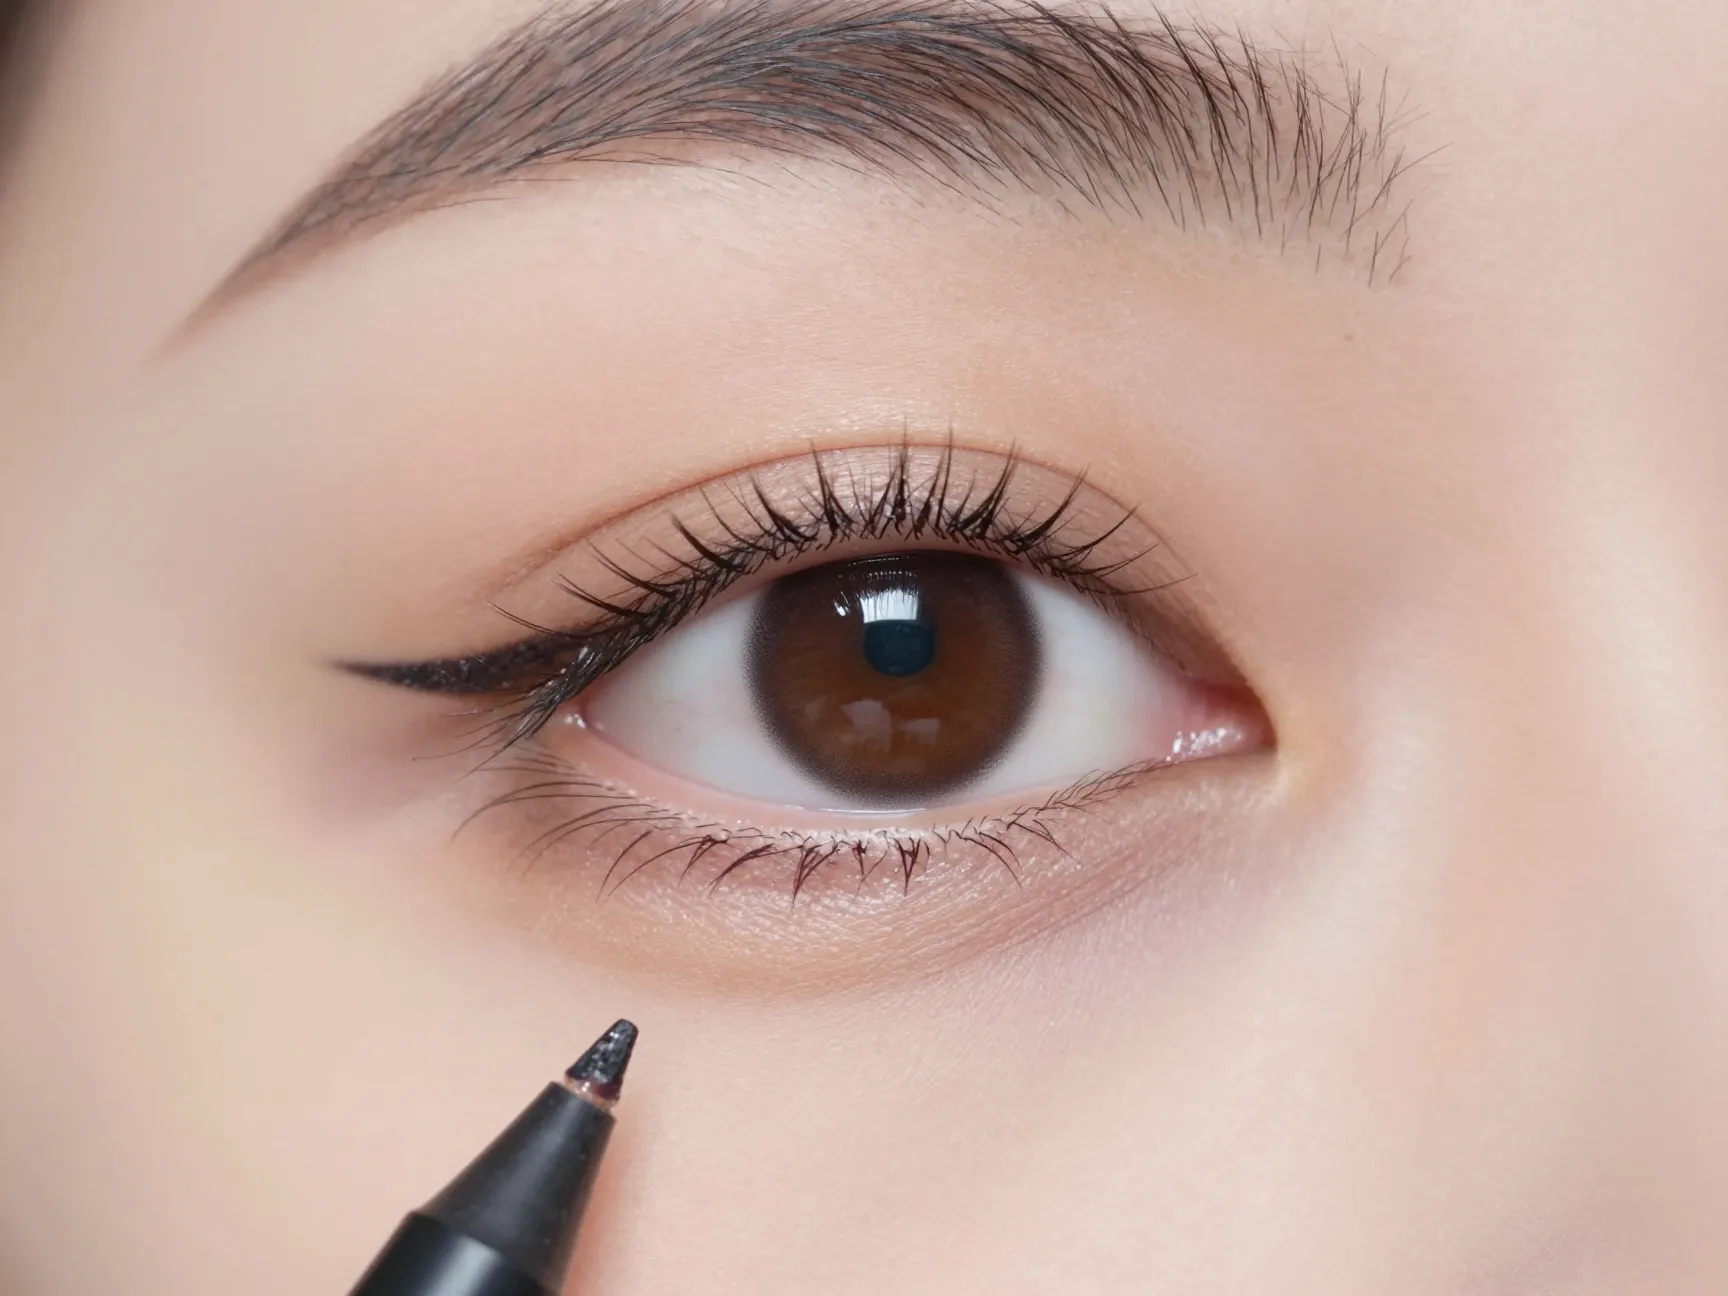
Defined eyes photograph beautifully — but the key word is subtle. [2]
Heavy, thick eyeliner can look harsh and overwhelming in photos, especially close-up shots. Instead, focus on precise, strategic liner placement that enhances your eyes without dominating your face.
Professional tips for photo-ready eye definition:
- Apply a fine line of liner along the outer edge of the lower lash line only — this opens up the eyes and adds definition without heaviness. [2]
- Use a waterproof formula to prevent smudging during an emotional shoot.
- Consider tight-lining (applying liner to the inner upper waterline) for the illusion of fuller lashes.
- Curl your lashes and apply 1-2 coats of mascara — focus on the upper lashes.
Brands like Makeup Forever are frequently recommended by professional artists for their precision liners that deliver crisp, long-lasting results. [2]
Lashes for engagement photos:
- Individual lash clusters or a natural strip lash can add beautiful definition.
- Avoid overly dramatic or very long lashes for a daytime outdoor shoot.
- If you’re doing a glam evening shoot, a fuller lash is perfectly appropriate.
8. Opt for Long-Lasting, Lightweight Formulas
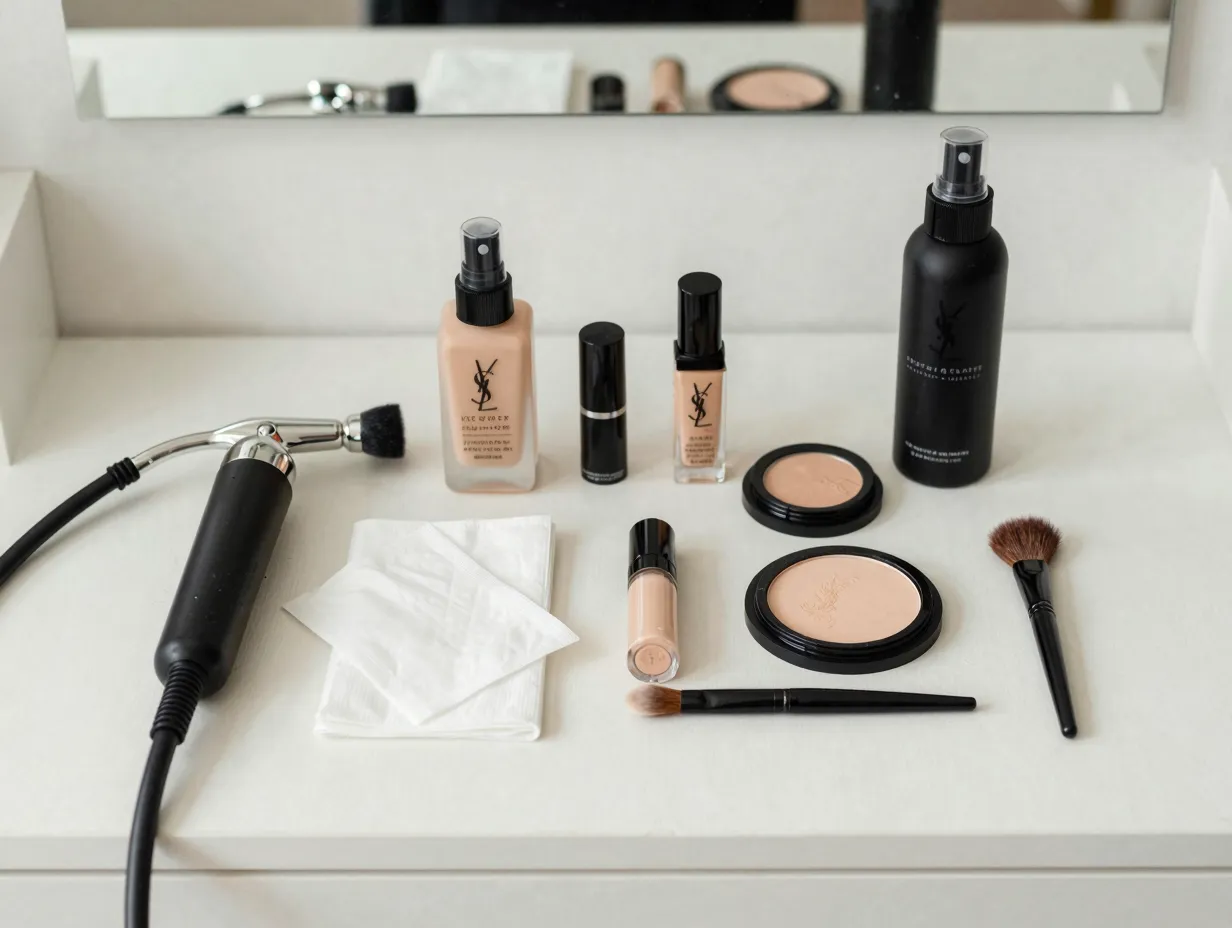
Your engagement photo session could last 2-4 hours. Your makeup needs to last every minute of it — without feeling heavy or shifting. [1][6]
Professional makeup artists in 2026 recommend two main approaches:
Option A: Airbrush Makeup
- Extremely lightweight and breathable
- Builds to flawless coverage
- Highly resistant to sweat, humidity, and tears 😢
- Ideal for outdoor or warm-weather shoots
Option B: Traditional High-Quality Makeup
- More control over finish and texture
- Easier to touch up on the go
- Works well in all lighting conditions
- Best for studio or controlled-environment shoots [1]
Must-have products for longevity:
| Product Type | What to Look For |
|---|---|
| Primer | Pore-filling, hydrating, or grip-based |
| Setting Spray | Long-wear, humidity-resistant |
| Blotting Papers | Oil control without disturbing makeup |
| Touch-Up Powder | Finely milled, translucent |
💡 Pack a small touch-up kit with your setting spray, blotting papers, and a small powder brush for on-location refreshes between shots.
Comfort is non-negotiable. Makeup that feels heavy, tight, or uncomfortable will show in your expressions — and your photographer will capture it. [6]
9. Choose Nude or Blurred Lips for a Timeless Finish
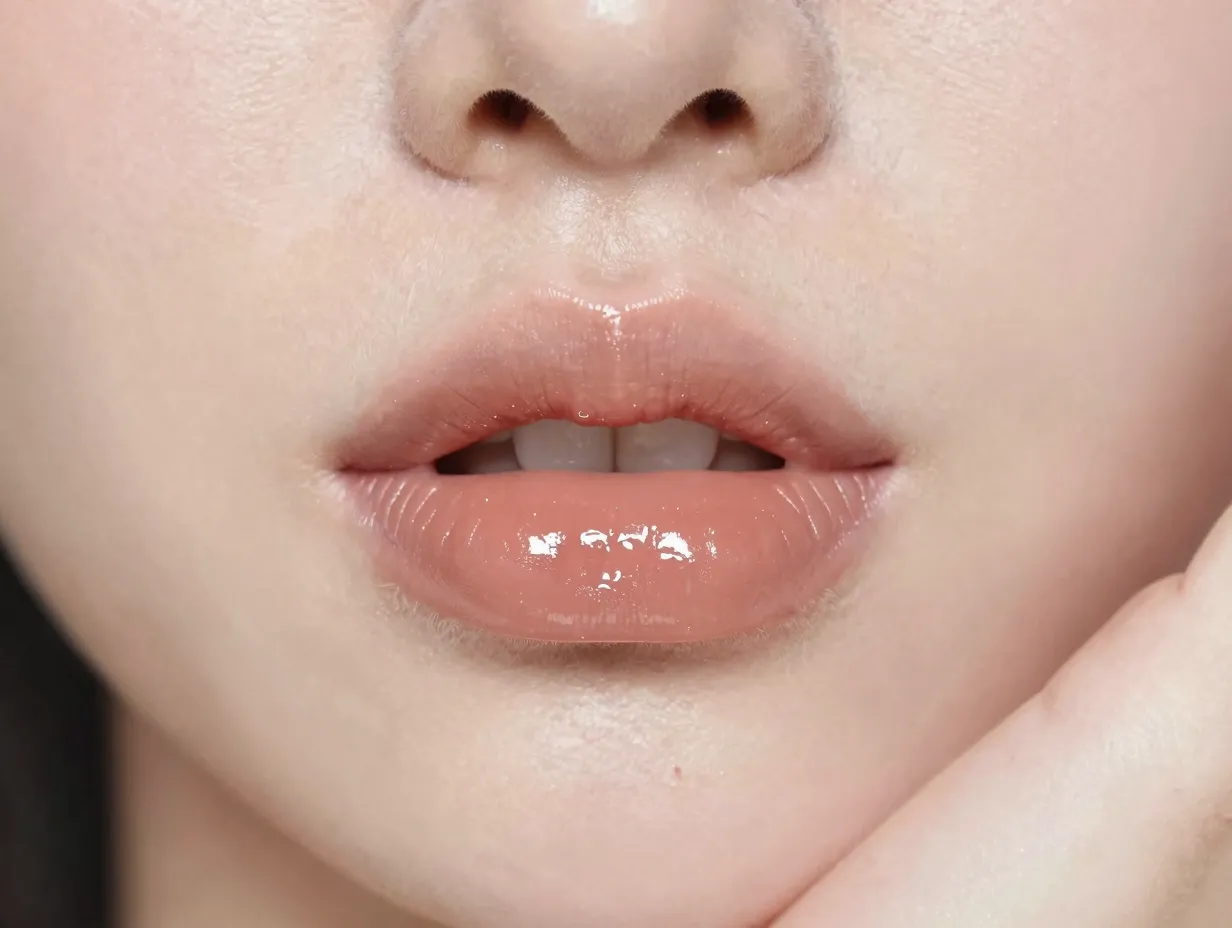
Your lip color is the finishing touch — and it can make or break your engagement photo look. [1][5]
In 2026, the most popular choices for engagement and bridal makeup are nude glossy lips and the blurred lip trend, both of which add freshness and dimension while keeping the overall look soft and romantic. [1][5]
Understanding your lip options:
- Nude Gloss — A sheer, glossy nude that catches the light and looks effortlessly beautiful. Works on all skin tones when chosen correctly.
- Blurred Lip — A soft, diffused lip color with no hard edges. Looks modern, fresh, and incredibly photogenic. [5]
- Tinted Lip Balm — The most natural option; adds a hint of color and shine without commitment.
- Classic Nude Matte — Timeless and elegant, especially for studio shoots.
Monochromatic magic: 🎨
One of the most effective techniques for a cohesive engagement photo look is matching your blush tones to your lip color. You can even tap a small amount of cream blush onto the center of your lips to tie your entire look together for a romantic, unified finish. [1]
“A monochromatic color strategy — matching blush and lip tones — creates a cohesive, romantic finish that photographs beautifully.” [1]
Avoid very dark lip colors (deep burgundy, dark plum) unless you’re doing a dramatic, intentional editorial-style shoot. These can overpower the rest of your look and draw all attention away from your natural beauty and your ring! 💍
Bonus Tips: Preparing for Your Engagement Photo Shoot
Beyond the 9 Essential Makeup Tips for Your Engagement Photos (Look Flawless!), here are a few extra steps to ensure everything goes smoothly:
Before the shoot:
- Do a makeup trial run at least 2 weeks before your session. Test how your makeup photographs in different lighting.
- Drink plenty of water in the days leading up to your shoot — hydrated skin holds makeup better and looks more radiant.
- Get a good night’s sleep to minimize puffiness and dark circles.
- Avoid trying new skincare products right before the shoot to prevent unexpected reactions.
Day of the shoot:
- Apply your makeup in natural light when possible.
- Finish your look at least 30 minutes before the shoot so everything has time to settle.
- Bring your touch-up kit — setting spray, blotting papers, lip color, and a small brush.
- Take test photos on your phone before you leave home to see how your makeup looks on camera.
Working with a professional MUA:
If your budget allows, hiring a professional makeup artist for your engagement photos is one of the best investments you can make. A skilled MUA will know exactly how to adjust your look for your specific photographer’s style, your shoot location, and your skin type. [6]
Common Engagement Photo Makeup Mistakes to Avoid
Even with the best intentions, it’s easy to make mistakes. Here are the most common ones — and how to avoid them:
❌ Over-powdering — Flattens the skin and kills your glow. Set only where needed.
❌ Wrong foundation shade — Always match to your neck, not just your face.
❌ Skipping primer — Primer is what makes your makeup last through a long shoot.
❌ Heavy contouring — Can look muddy and unnatural in photos. Opt for bronzer instead.
❌ Ignoring your neck and décolletage — These show up in photos too! Blend your foundation down.
❌ Wearing too much fragrance — Won’t affect photos, but can cause headaches during a long session.
❌ Not testing your look on camera — Always do a camera test before the big day.
Conclusion
Your engagement photos are a celebration of one of the most exciting chapters of your life. With the right makeup approach, you can look and feel absolutely radiant — naturally beautiful, camera-ready, and completely yourself.
By following these 9 Essential Makeup Tips for Your Engagement Photos (Look Flawless!), you’re setting yourself up for photos you’ll cherish for decades. From building a dewy, radiant base to choosing the perfect nude lip and placing your blush strategically, every detail works together to create a cohesive, stunning look that photographs beautifully in any setting.
Your actionable next steps:
- Book a makeup trial at least 2-3 weeks before your shoot date.
- Take camera test photos in your trial makeup to see what works.
- Shop for long-lasting, lightweight formulas that match your skin type.
- Discuss your shoot location and lighting with your photographer so your MUA can adjust accordingly.
- Pack a touch-up kit and don’t forget your setting spray!
You deserve to look and feel flawless in every single frame. Now go get that ring shot! 💍✨
References
[1] Wedding Makeup Trends – https://www.theknot.com/content/wedding-makeup-trends
[2] Watch – https://www.youtube.com/watch?v=-Jxunw2Jc0M
[3] 13 Bride Makeup Looks For 2026 – https://www.qcmakeupacademy.com/blog/2025/10/13-bride-makeup-looks-for-2026
[4] 2026 Makeup Trends – https://www.harpersbazaar.com/beauty/makeup/a70406540/2026-makeup-trends/
[5] Spring Makeup Trends 2026 – https://www.whowhatwear.com/beauty/makeup/spring-makeup-trends-2026
[6] Blog Makeup Trends 2026 A Professional Guide To The Future Of Beauty – https://jessbonilla.com/blog-makeup-trends-2026-a-professional-guide-to-the-future-of-beauty/