9 Steps to Achieve the Perfect Natural Look Bridal Makeup
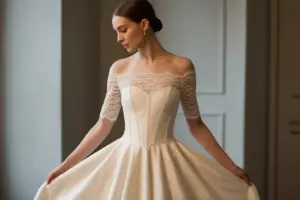
Your wedding day is one of the most photographed moments of your life — and the last thing you want is to look back at those photos and not recognize yourself. That is exactly why so many brides in 2026 are choosing to embrace the 9 Steps to Achieve the Perfect Natural Look Bridal Makeup approach: a method that celebrates your real beauty rather than masking it. Whether you are working with a professional artist or doing your own makeup, this guide will walk you through every step you need to glow authentically on your big day.
Key Takeaways 🌿
- Skin preparation is everything — a flawless natural look starts long before you open a single product.
- Lightweight, luminous formulas outperform heavy coverage for all-day wear and stunning photography.
- Soft, blended techniques replace harsh contouring and heavy brows for a timeless, effortless finish.
- Monochromatic color harmony between blush and lips creates a cohesive, romantic look.
- Product quality matters more than quantity — fewer, better products deliver a more authentic result.
Why Natural Bridal Makeup Is the Top Trend in 2026
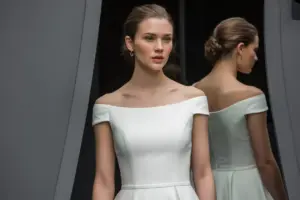
The era of heavy, cakey bridal makeup is officially over. In 2026, brides are asking for looks that feel like them — just polished, radiant, and camera-ready. According to leading bridal beauty experts, simplicity is celebrated and effortless elegance takes center stage [5]. The focus has shifted from covering up to enhancing what is already there.
💬 “The best bridal makeup is the kind where people say, ‘You look so beautiful’ — not ‘I love your makeup.'”
This shift is not just aesthetic. It is also practical. Natural makeup photographs better in varied lighting, holds up through tears and dancing, and feels more comfortable to wear for 10+ hours. Brides across New Jersey, Las Vegas, and beyond are all requesting the same thing: a look that is real, refined, and radiant [1][8].
The 9 Steps to Achieve the Perfect Natural Look Bridal Makeup framework below is designed to be easy to follow, whether you are a makeup novice or a seasoned beauty enthusiast.
The Complete 9 Steps to Achieve the Perfect Natural Look Bridal Makeup
1. Start With Thorough Skin Preparation
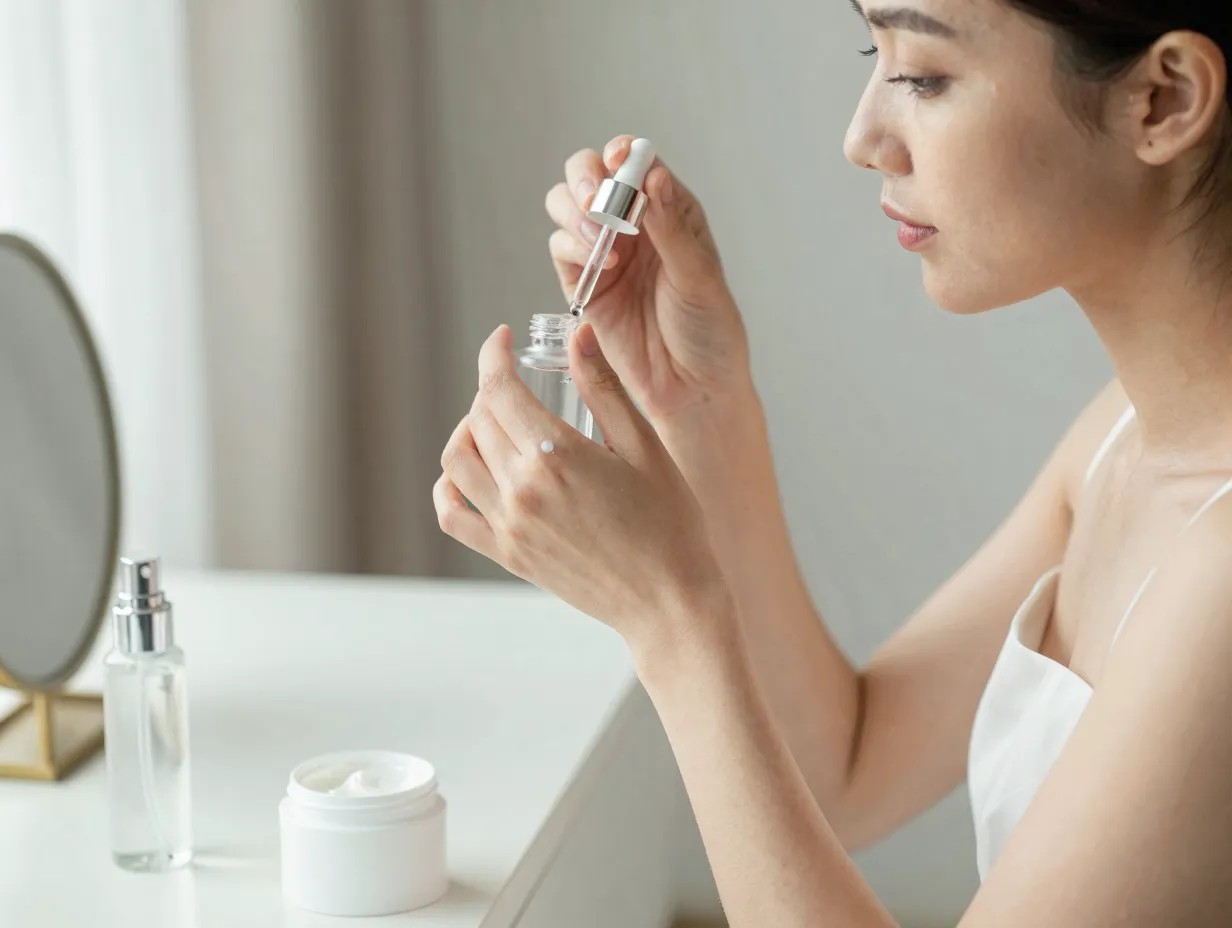
Skin prep is the single most important step in any natural bridal makeup routine. No amount of beautiful product can compensate for a poorly prepped canvas.
Begin your skin prep routine at least 4–6 weeks before your wedding. This includes:
- A consistent skincare routine (cleanser, toner, serum, moisturizer, SPF)
- Professional facials or dermatologist-recommended treatments
- Staying hydrated and maintaining a balanced diet
- Getting adequate sleep in the week leading up to the wedding
On the day of your wedding, cleanse your face gently, apply a hydrating serum, and follow with a lightweight moisturizer. Allow it to absorb fully before moving to the next step. A well-hydrated skin base makes every product apply more smoothly and last longer [2].
Pro Tip 💡: Use a hydrating face mist throughout the morning to keep your skin dewy and fresh before makeup application begins.
2. Apply a Lightweight, Luminous Base
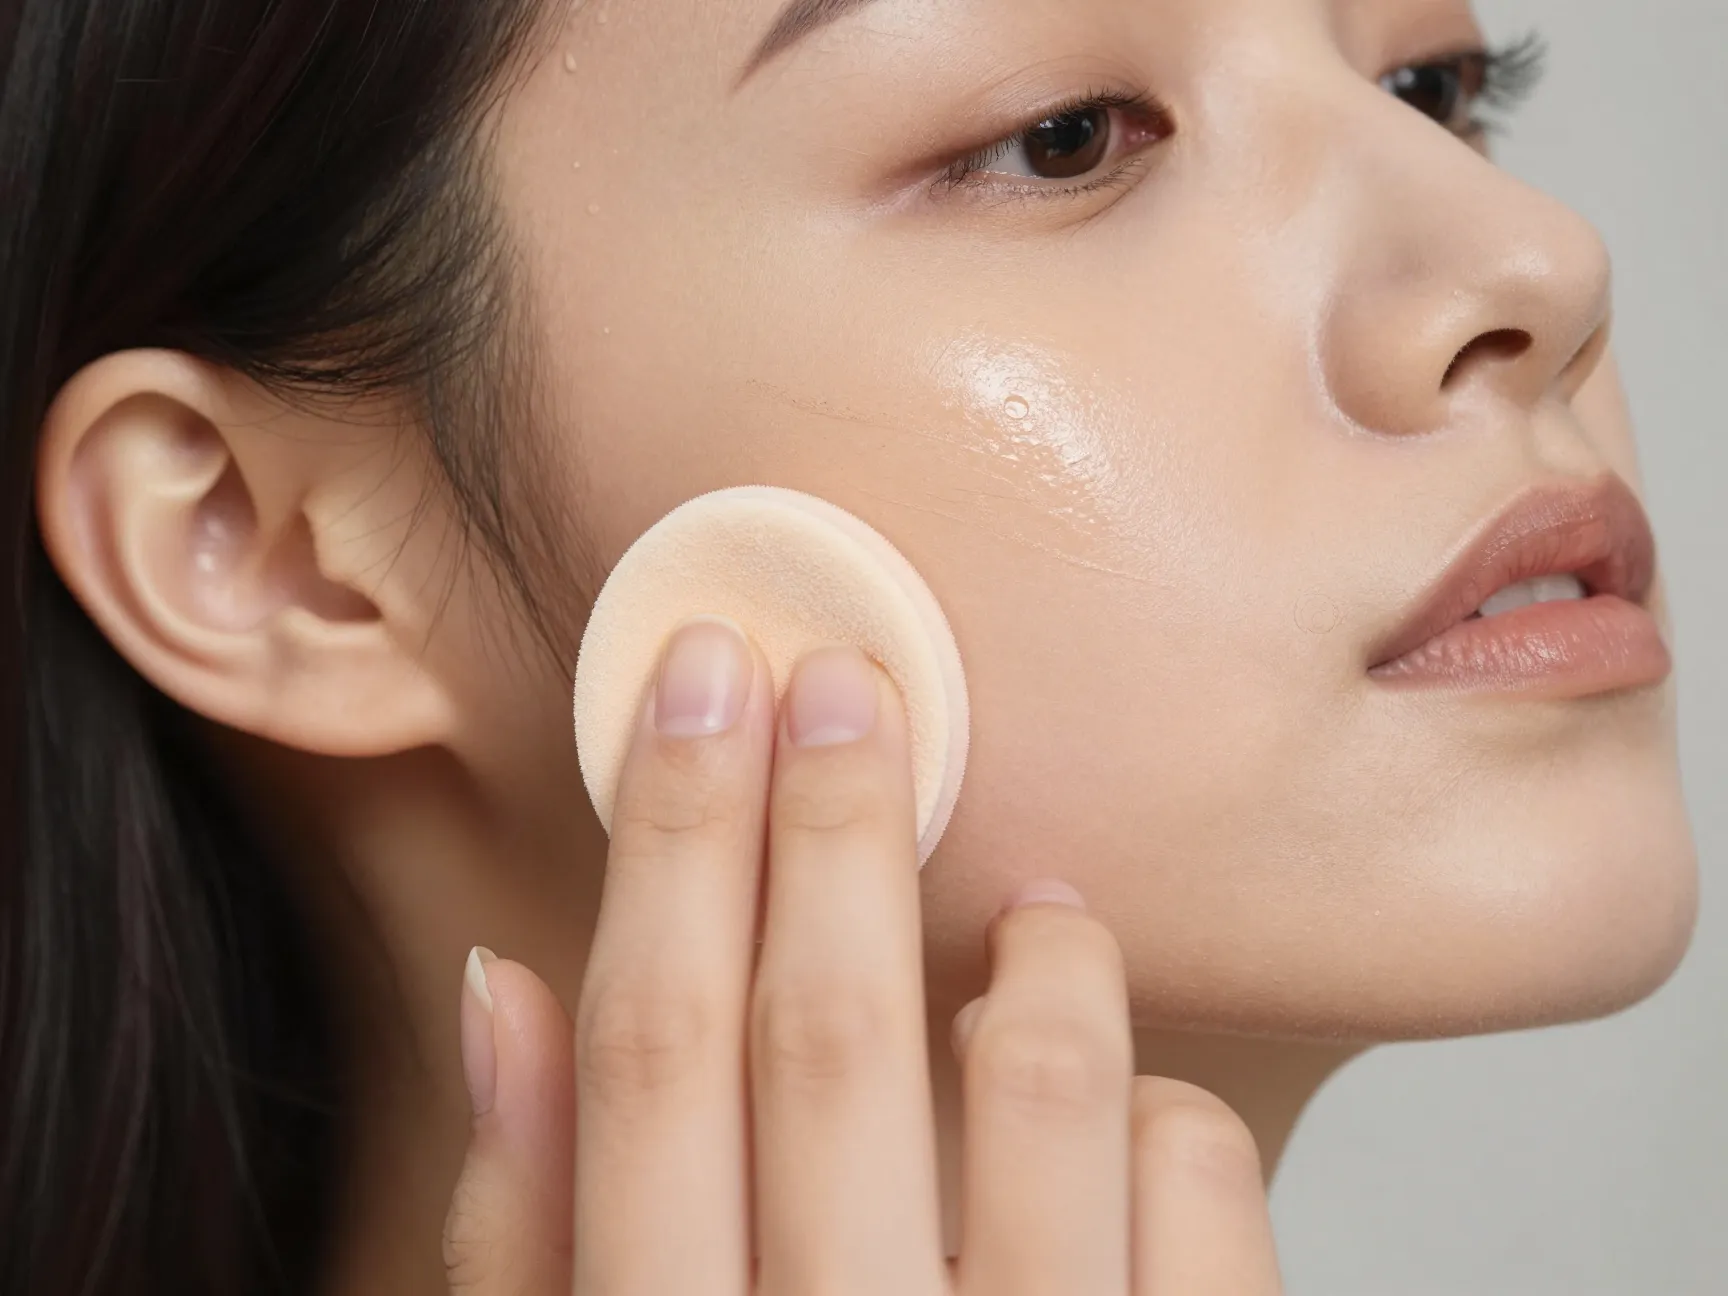
Forget heavy, full-coverage foundations. In 2026, the natural bridal look calls for lighter, sheerer, and more luminous formulas that let your real skin show through [8].
Choose from these base options depending on your skin type:
| Skin Type | Recommended Base Formula |
|---|---|
| Dry / Normal | Luminous foundation or skin tint |
| Oily / Combination | Satin-finish foundation + setting powder |
| All skin types | Tinted moisturizer for ultra-natural coverage |
Apply your base with a damp beauty sponge using a pressing and rolling motion — never drag. This technique builds coverage without looking cakey and blends seamlessly into the skin. Focus coverage where you need it most (redness, discoloration) and leave the rest of your face lightly covered [3].
If you prefer a completely bare-skin aesthetic, a tinted moisturizer is your best friend. It evens out the complexion while still looking like healthy, natural skin [3].
3. Conceal Strategically, Not Heavily
Concealer is a tool for precision — not a second layer of foundation. In a natural bridal look, less is always more.
Use a creamy, hydrating concealer only where you truly need it:
- Under the eyes (blend downward in a triangle shape)
- Around the nose if redness is present
- On any blemishes or spots
Set your concealer with a very light dusting of translucent powder using a small fluffy brush. Avoid packing powder under the eyes, as this can emphasize fine lines and look dry in photos [2].
Color Tip 🎨: Choose a concealer that is only one shade lighter than your skin — not dramatically lighter — to avoid a flashback effect in photography.
4. Define Brows With a Soft, Natural Touch
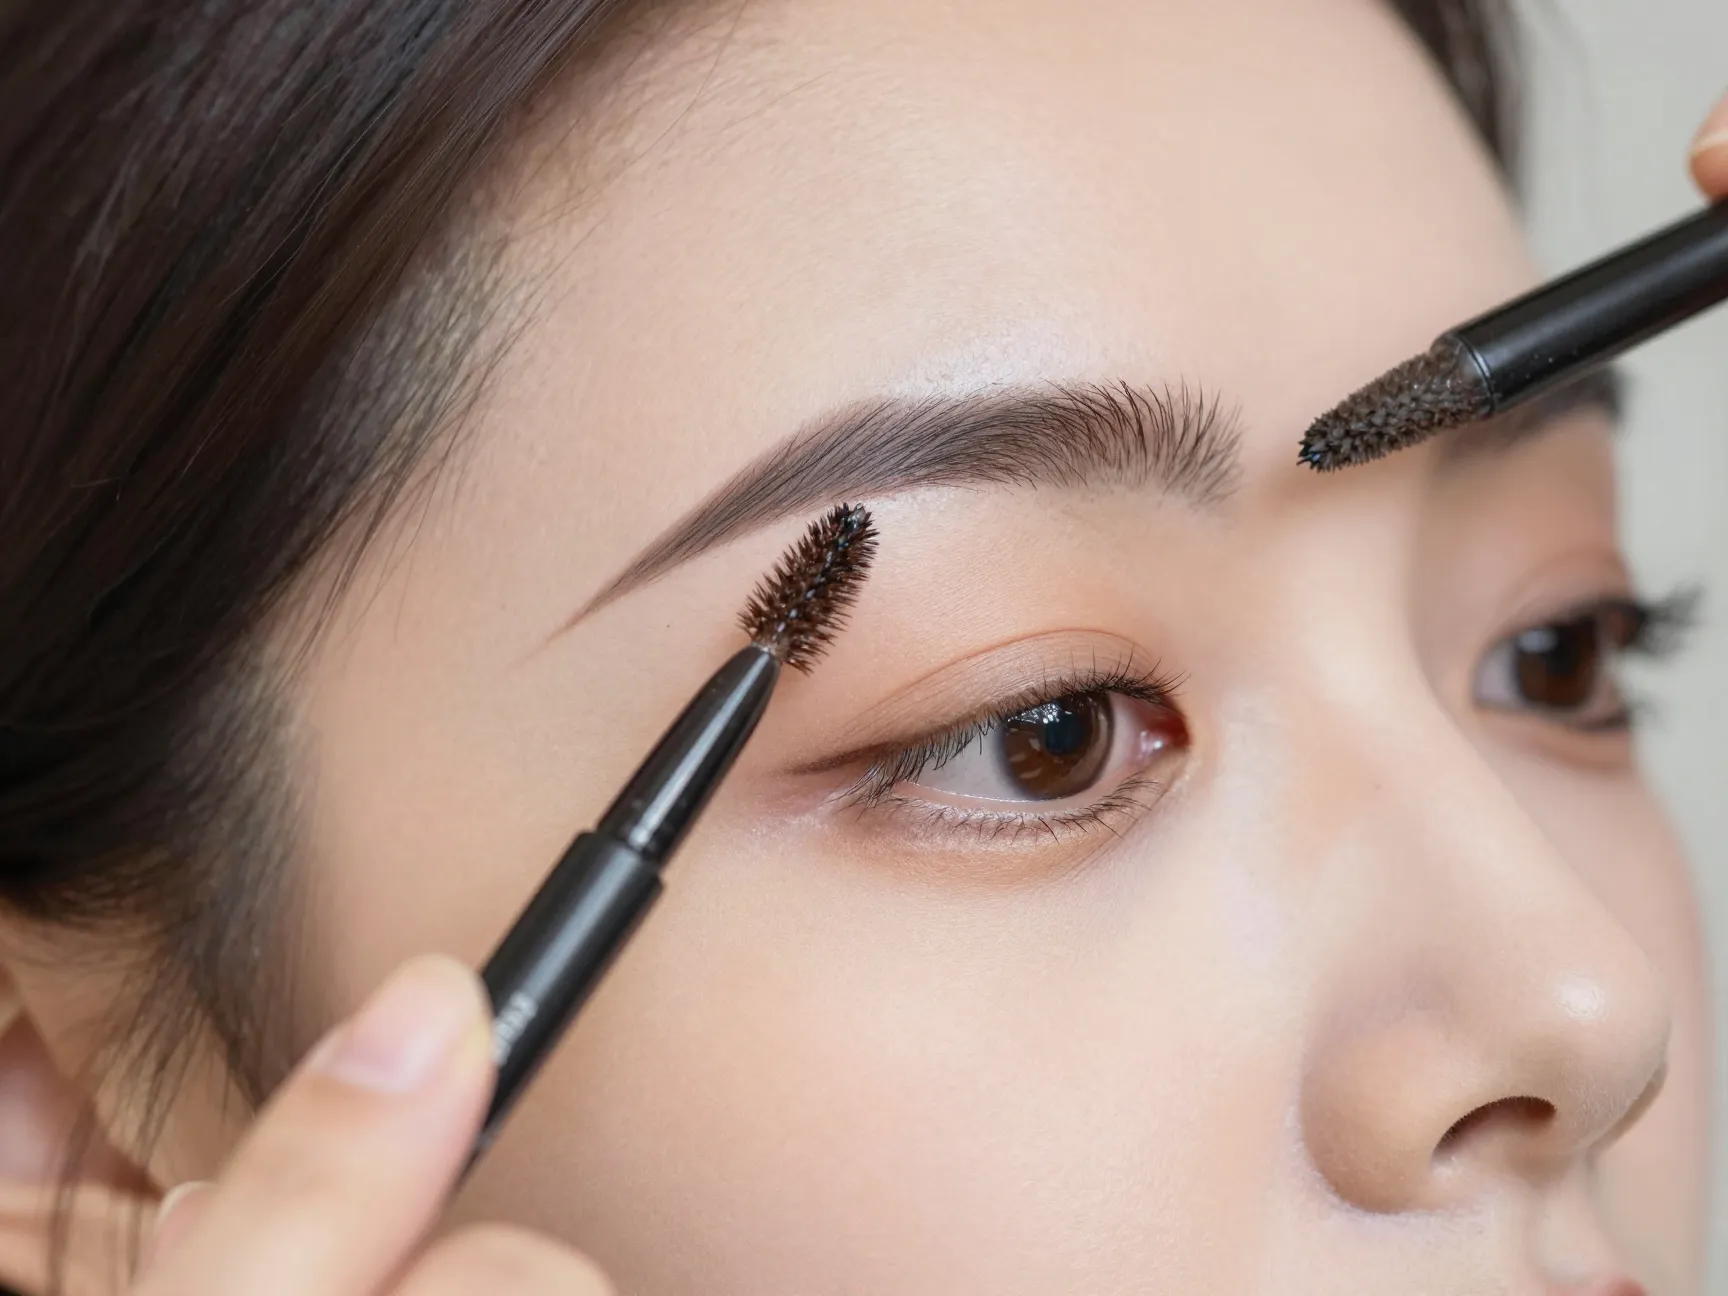
Your brows frame your entire face, and in 2026, the trend is firmly toward soft, natural brows rather than sculpted, dramatic arches [5].
The goal is to enhance your natural brow shape — not redraw it. Here is how:
- Fill sparse areas with light, hair-like strokes using a fine-tip brow pencil
- Use a tinted brow gel to set and define without looking heavy
- Brush brows upward for a modern, lifted effect
- Avoid blocking in the brow with solid color
A tinted brow gel creates a “soft, classy look that photographs beautifully and feels timeless” [5]. This approach works for every brow shape and thickness, making it universally flattering for brides.
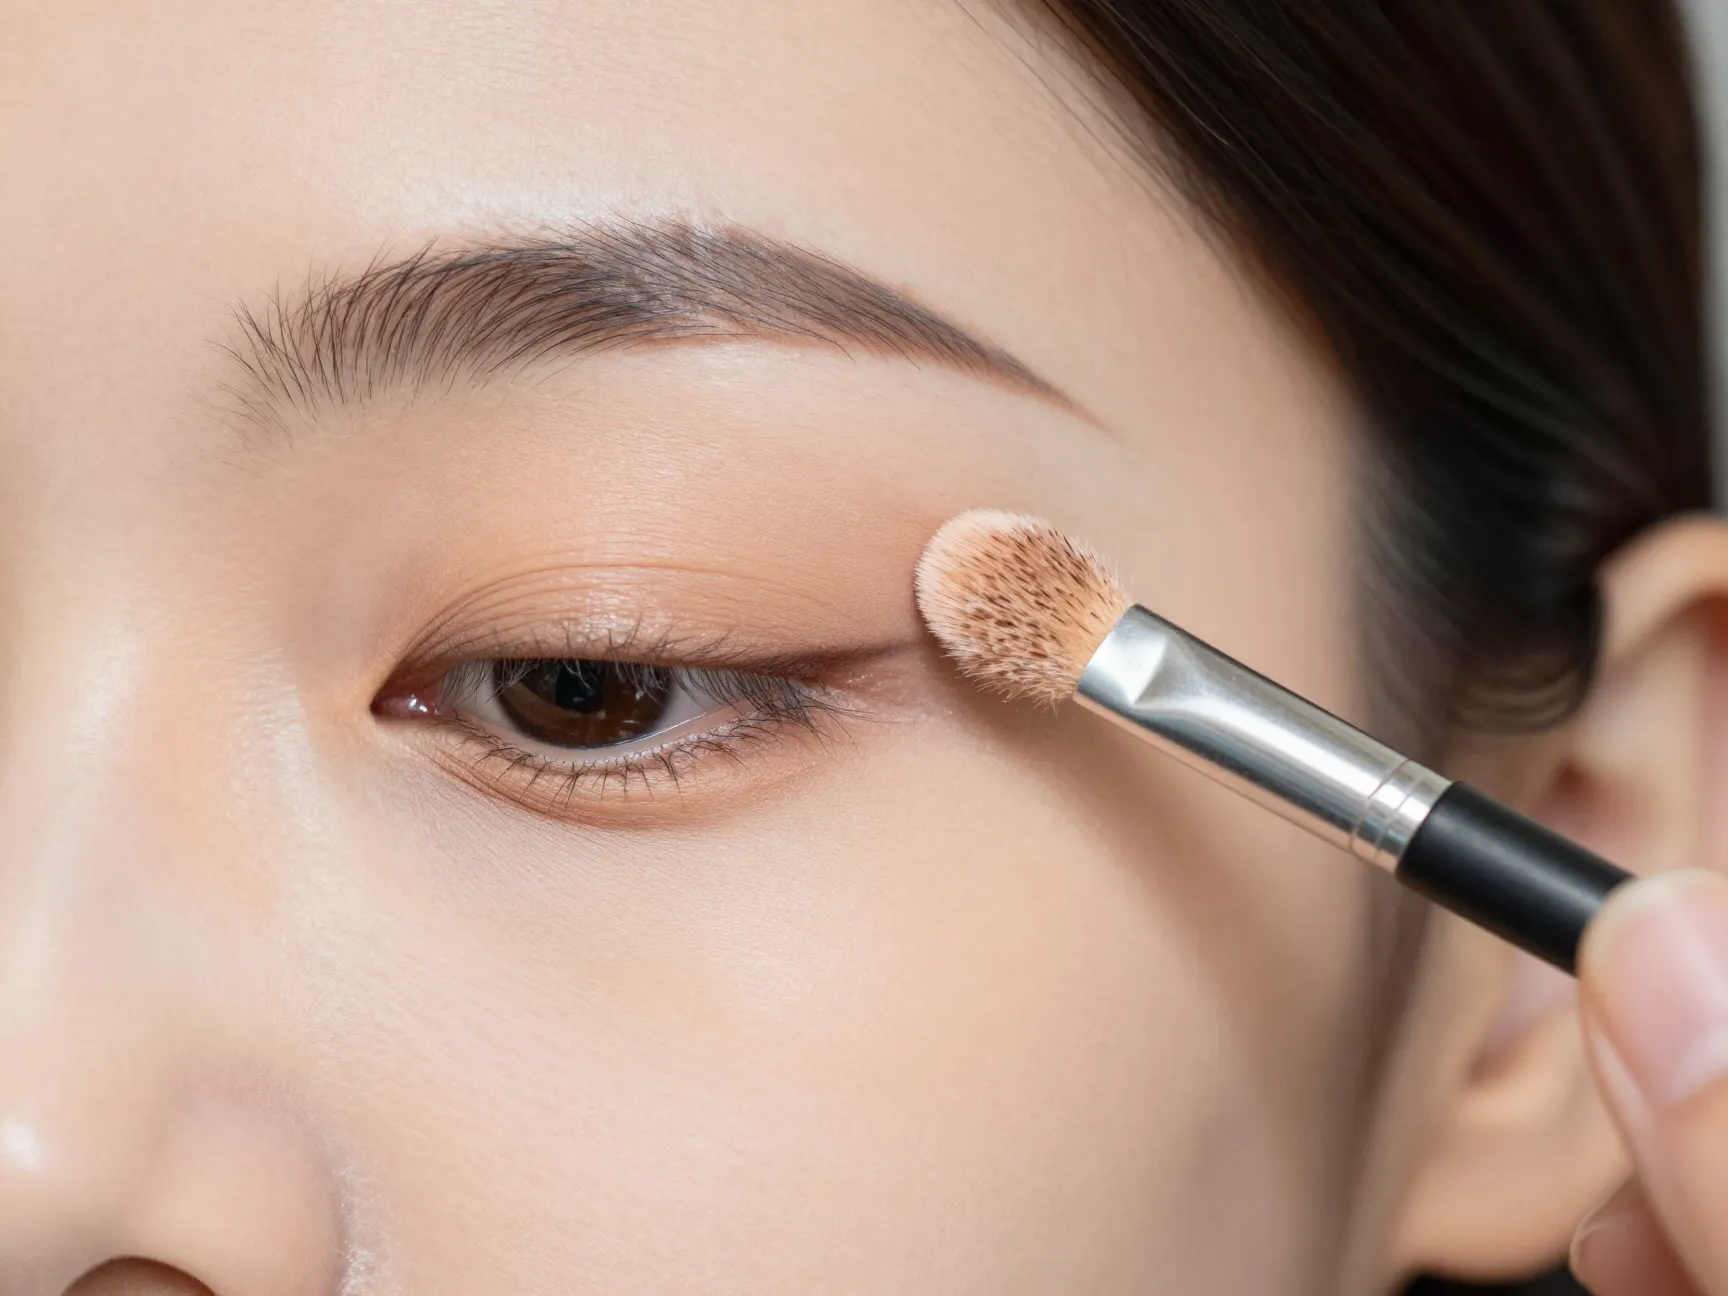
5. Create Soft, Dimensional Eyes With Neutral Matte Shadows
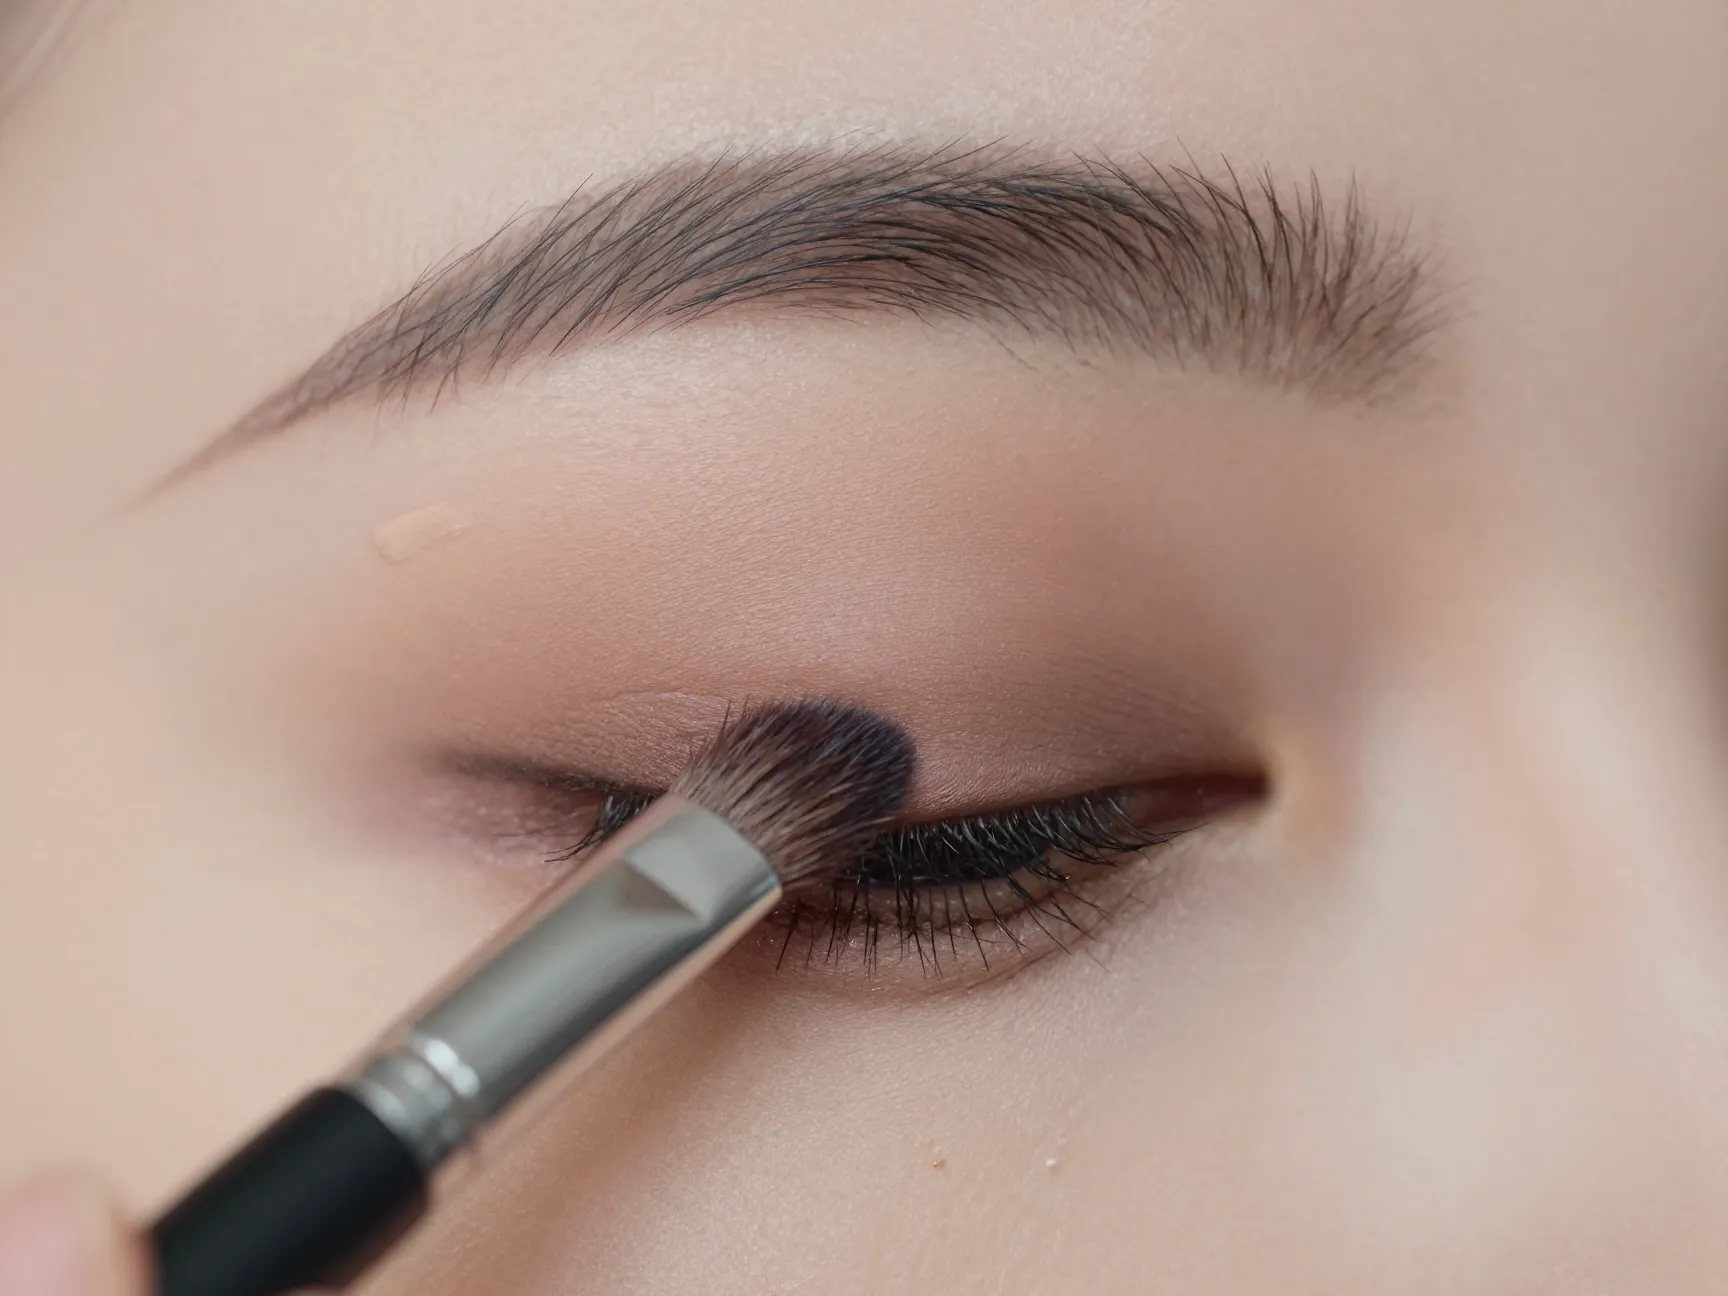
Natural bridal eye makeup is all about depth without drama. The key is using matte eyeshadows in neutral, skin-like tones to add definition without looking overdone [5].
Step-by-step eye technique:
- Apply a nude or skin-tone matte shadow all over the lid as a base
- Use a slightly deeper matte taupe or brown in the crease for dimension
- Blend thoroughly — there should be no harsh lines
- Apply a light matte highlight shade to the inner corner and brow bone
- Tightline the upper lash line with a dark brown pencil (optional)
Why matte over shimmer? Matte eyeshadows “offer longevity and sophistication throughout the wedding day” and “naturally but effectively complement the eye” without looking overdone in photos [5]. Shimmer can catch light unpredictably in photography, while matte tones stay consistent and elegant.
Finish with 2–3 coats of black or brown mascara, focusing on the upper lashes. Curl your lashes beforehand for extra lift. If you want more definition, individual lash clusters at the outer corners are a natural-looking alternative to full strip lashes [4].
6. Build a Natural Flush With Cream and Powder Blush
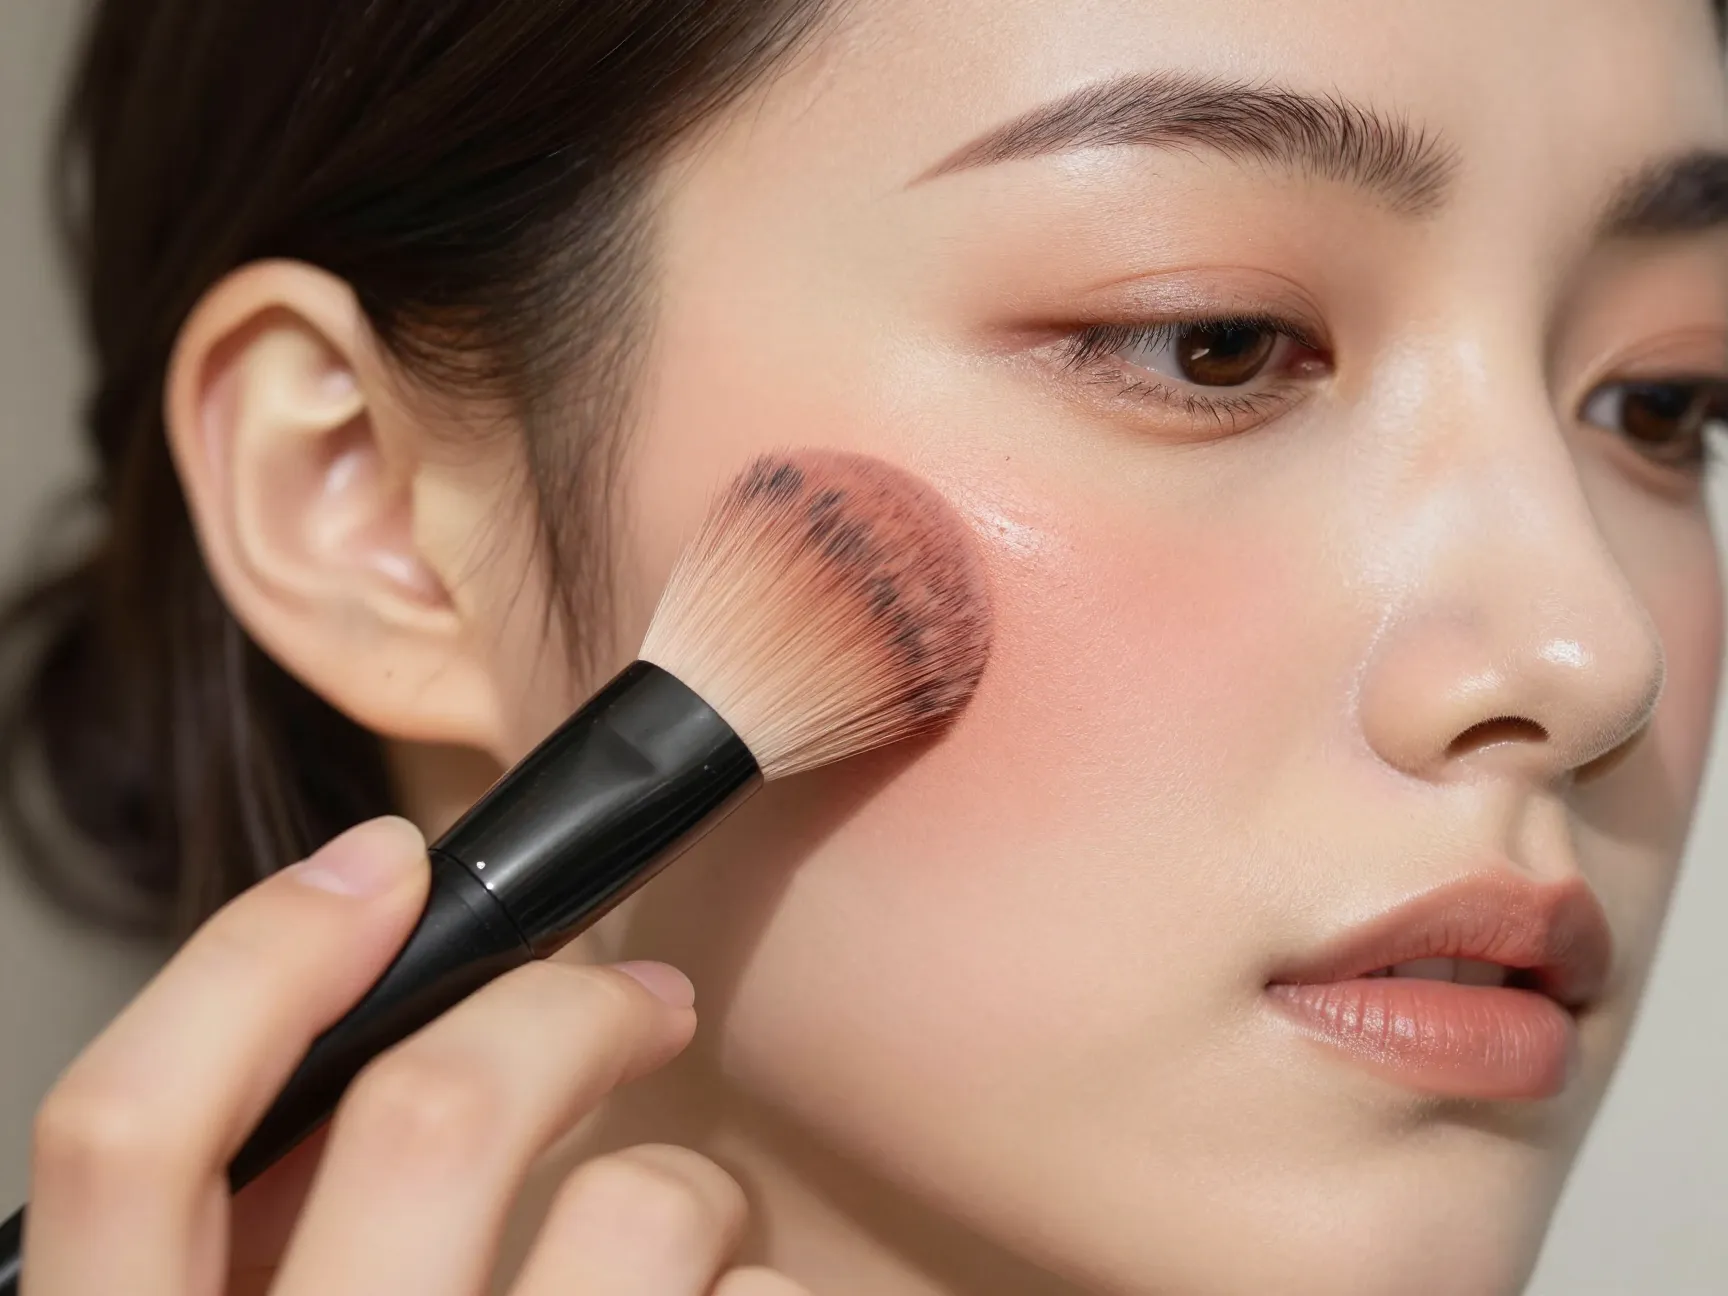
Blush is the secret weapon of any natural bridal look. When done correctly, it makes you look healthy, happy, and radiant — like you are genuinely glowing from the inside out.
The layering technique is the professional approach: apply a cream or liquid blush first, then set and intensify with a matching powder blush on top. This creates “a depth of color that looks like a natural flush rather than product sitting on top of the skin” [8].
How to apply blush for a natural bridal look:
- Smile gently and apply cream blush to the apples of your cheeks
- Sweep the color upward toward your temples for a lifting effect [8]
- Set with a light dusting of powder blush in a similar tone
- Blend thoroughly so there are no visible edges
Blush placement matters 🌸: Sweeping blush upward toward the temples creates a youthful, lifted appearance that photographs beautifully from every angle.
7. Sculpt Softly With Blended Warmth
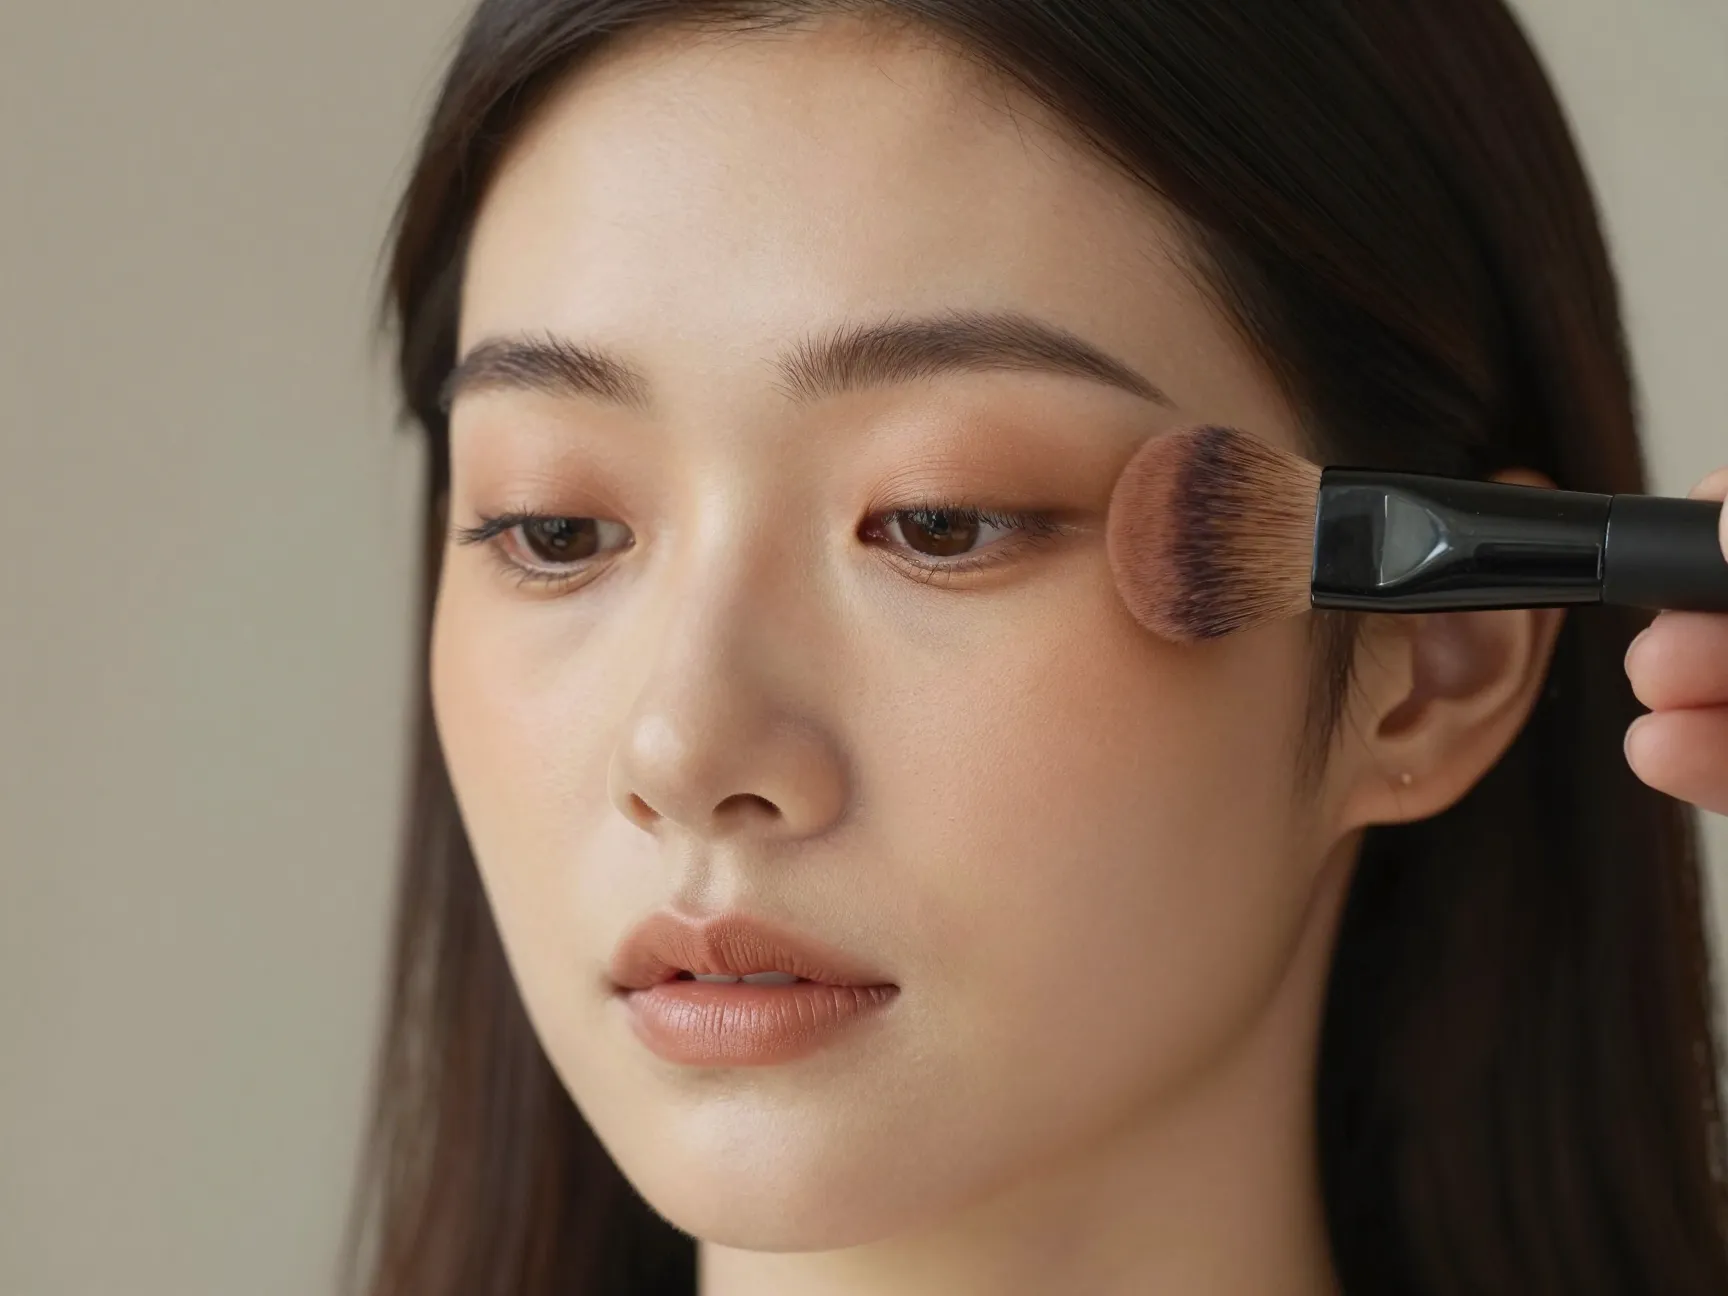
Traditional contouring — with harsh lines and heavy brown powder — has no place in a natural bridal look. In 2026, the approach is soft, blended sculpting that adds warmth and dimension without looking artificial [8].
Think of this step as adding a sun-kissed warmth rather than carving out cheekbones. Use a matte bronzer or a soft warm-toned powder that is only slightly deeper than your skin tone.
Where to apply soft sculpting:
- Along the hairline and temples
- Beneath the cheekbones (blend upward, not downward)
- Along the jawline (very lightly)
- The sides of the nose (optional, very subtle)
Use a large, fluffy brush and apply with a windshield-wiper motion for seamless blending. The result should look like natural shadow, not makeup. This “soft contour adds an unexpected sophistication” without overpowering the face [8].
8. Highlight Strategically for Intentional Radiance

Highlighting is the step that ties the entire natural bridal look together — but only when done with a light hand. The goal is intentional radiance, not blinding shimmer [8].
Strategic highlight placement:
- Cheekbones: Apply just above the blush for a lit-from-within glow
- Nose bridge: A very subtle swipe down the center
- Cupid’s bow: A tiny dab to make lips appear fuller
- Inner corners of eyes: Opens up and brightens the eyes
- Brow bone: A soft highlight just below the arch
Choose a highlighter with fine, luminous particles rather than chunky glitter. Champagne, pearl, and soft gold tones work beautifully for most skin tones in bridal photography.
Keep the center of the face softly matte to avoid looking oily — professional makeup artist Shanna Naomi recommends this balance specifically for wedding photography [5]. The contrast between a dewy perimeter and a soft-matte center creates the most flattering, natural-looking finish.
9. Finish With a Nude Glossy Lip for Effortless Elegance
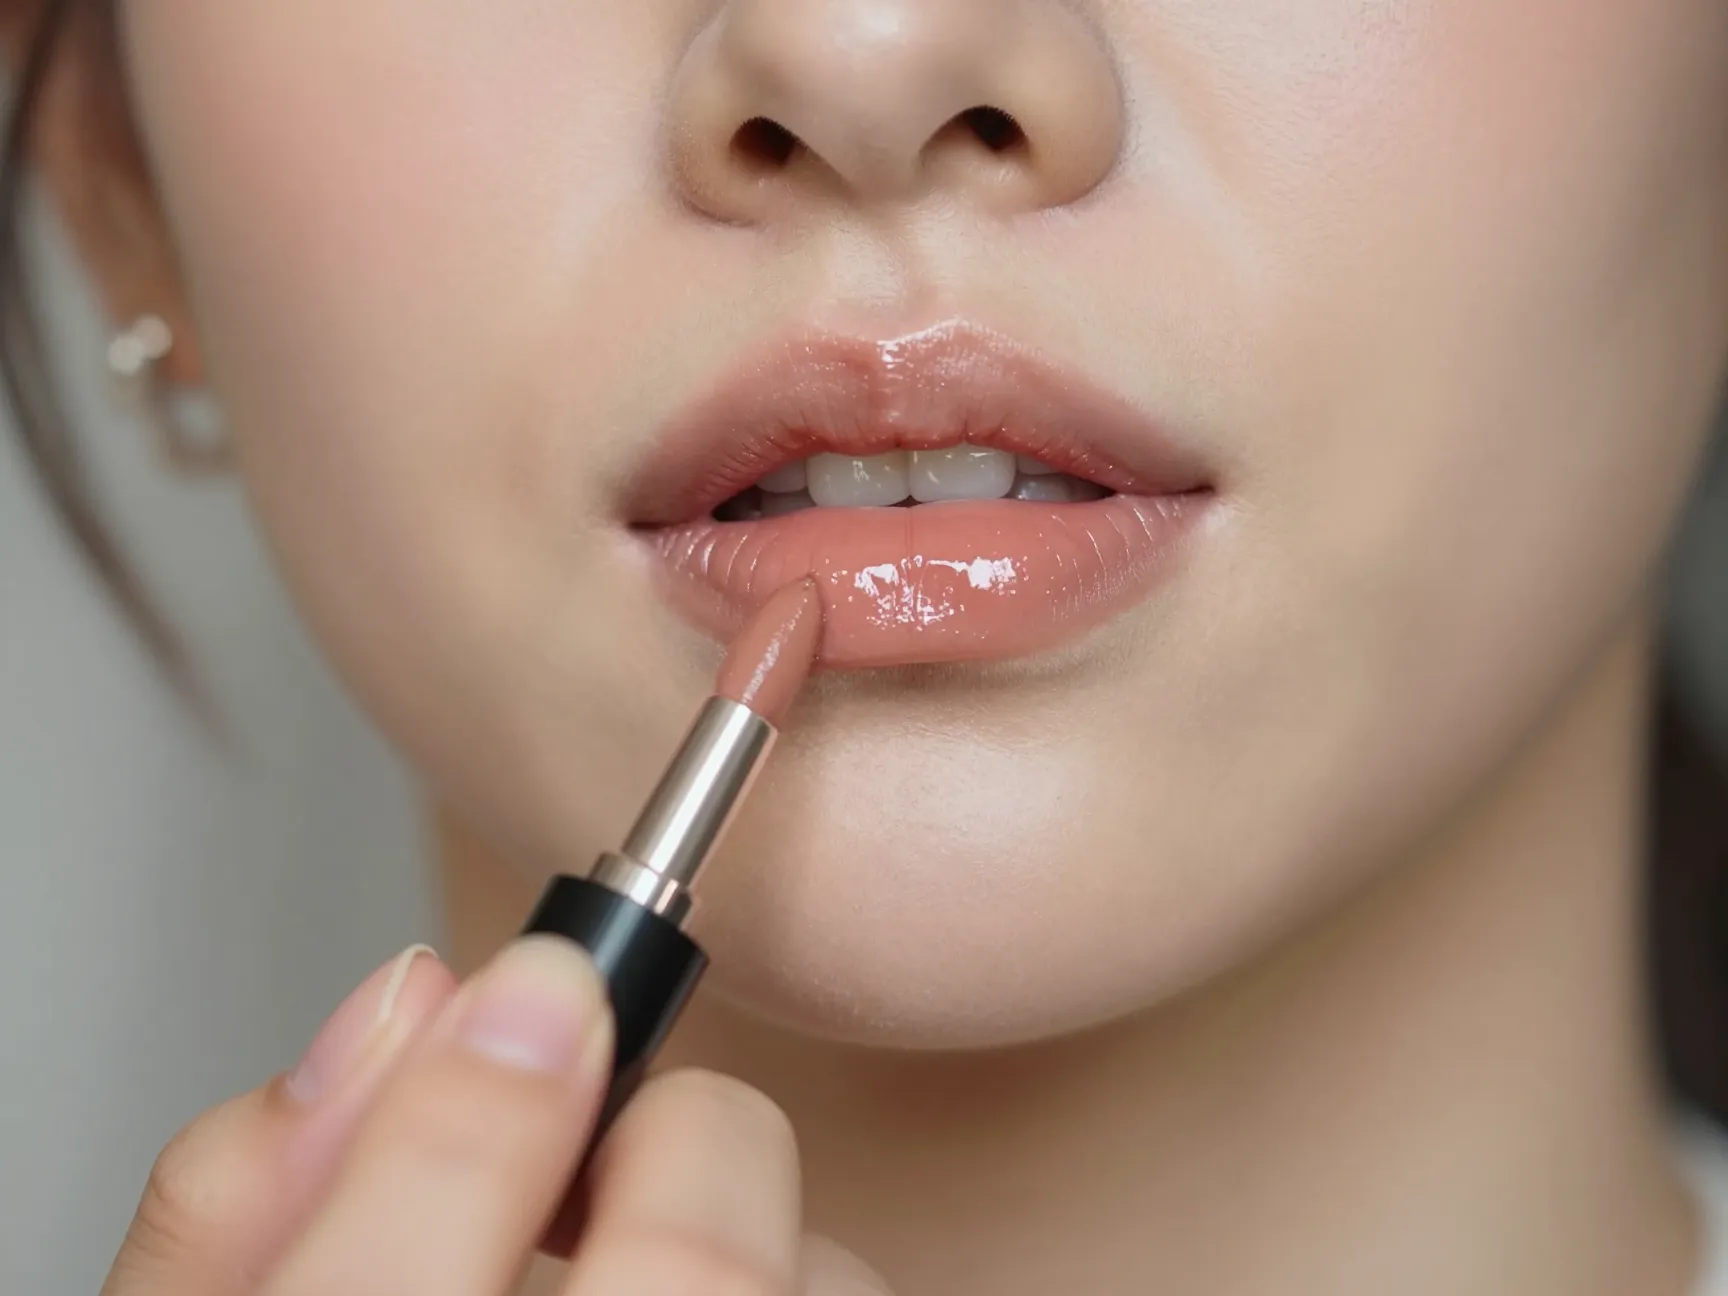
The final step in the 9 Steps to Achieve the Perfect Natural Look Bridal Makeup is the lip — and in 2026, the winning choice is a nude glossy lip [5].
This finish “completes the look by adding freshness and dimension, creating a classic, soft glam that feels effortless yet elevated” [5].
How to achieve the perfect nude glossy lip:
- Line your lips with a nude liner that matches your natural lip color
- Apply a nude lipstick or tinted balm as a base
- Add a clear or nude-tinted gloss to the center of the lips
- For extra cohesion, apply a tiny amount of your cream blush to the center of your lips to match your cheek color [5]
This monochromatic approach — matching your blush tones to your lip color — ties the entire look together and creates “a really soft, romantic finish” [5]. It is one of the most professional tricks makeup artists use to make a bridal look feel completely cohesive.
Long-wear tip 💄: Choose a long-wearing nude lipstick as your base so the color stays put through your ceremony, even if the gloss fades.
Additional Pro Tips for Flawless Natural Bridal Makeup
Consider Airbrush vs. Traditional Application
One of the most important decisions you will make with your makeup artist is airbrush versus traditional application. Both can achieve a beautiful natural look, but they have different qualities [5].
| Factor | Airbrush | Traditional |
|---|---|---|
| Finish | Ultra-fine, seamless | Buildable, flexible |
| Longevity | Excellent | Good with setting spray |
| Natural look | Very natural | Natural with right products |
| Customization | Limited mid-day | Easy touch-ups |
Discuss your skin type, the wedding environment (outdoor heat, indoor air conditioning), and your personal preference with your artist before making this decision [5].
Do a Trial Run
Never skip your makeup trial. Schedule it 4–8 weeks before your wedding to test:
- How products wear throughout the day
- How the look photographs in different lighting
- Whether any products cause skin reactions
- How comfortable you feel in the look
Take photos in natural light, indoor light, and flash photography during your trial. This is the best way to ensure your natural bridal makeup looks as beautiful in person as it does in photos [1].
Set Your Makeup for All-Day Wear
Even the most natural-looking makeup needs to last through a full wedding day. Use these setting techniques:
- Translucent setting powder on the T-zone and under eyes
- Setting spray over the finished look (2–3 spritzes from a distance)
- Blotting papers in your emergency kit for touch-ups
- Carry your lip gloss for easy reapplication throughout the day
Common Mistakes to Avoid in Natural Bridal Makeup
Even with the best intentions, certain mistakes can undermine a natural bridal look. Here are the most common ones to watch out for:
- Choosing the wrong foundation shade — always match your neck, not your face
- Over-powdering — this kills the dewy, luminous finish and looks flat in photos
- Skipping primer — a good primer helps everything last longer and look smoother
- Using too much highlighter — a little goes a very long way
- Ignoring your neck and décolletage — blend your base down for a seamless finish
- Not doing a trial — what looks good in a mirror may not translate to photos
- Trying a new skincare product the night before — always stick to what you know
Conclusion: Your Most Beautiful, Authentic Self
Following the 9 Steps to Achieve the Perfect Natural Look Bridal Makeup is about more than just applying products in the right order. It is about making a conscious choice to show up on your wedding day as the most radiant, confident version of yourself — not a heavily made-up version of someone else.
In 2026, the most beautiful bridal looks are the ones rooted in authenticity, quality, and intention [5][8]. They use fewer products, applied with more skill, to create results that are timeless rather than trend-driven.
Your Actionable Next Steps 🌸
- Book a consultation with a professional bridal makeup artist at least 3–4 months before your wedding
- Start your skincare routine now — healthy skin is the foundation of everything
- Schedule your makeup trial 4–8 weeks before the big day
- Gather inspiration photos of natural bridal looks you love to share with your artist
- Invest in quality products if doing your own makeup — fewer, better products win every time
- Do a full-day wear test during your trial to see how everything holds up
Your wedding day deserves a look that feels like you — glowing, genuine, and unforgettable. These nine steps will get you there. 💍
References
[1] Natural Bridal Makeup Nj The Look Every 2026 Bride Is Asking For – https://www.makeupbysherviii.com/post/natural-bridal-makeup-nj-the-look-every-2026-bride-is-asking-for
[2] The Ultimate Bridal Beauty Guide Hair Makeup Trends For 2026 – https://delcaboweddings.com/trends/the-ultimate-bridal-beauty-guide-hair-makeup-trends-for-2026/
[3] Bridal Makeup Looks For The Trendy 2024 Bride – https://www.cosmetify.com/blog/bridal-makeup-looks-for-the-trendy-2024-bride/
[4] 2026 Bridal Makeup Trends – https://jessbonilla.com/2026-bridal-makeup-trends/
[5] Wedding Makeup Trends – https://www.theknot.com/content/wedding-makeup-trends
[6] Watch – https://www.youtube.com/watch?v=5dz68v3FAUU
[7] Major Bridal Beauty Trends For 2026 – https://thewed.com/magazine/major-bridal-beauty-trends-for-2026
[8] 2026 Bridal Makeup Trends The Era Of Authentic Refinement – https://www.lasvegaswedding-makeup.com/2026-bridal-makeup-trends-the-era-of-authentic-refinement/