9 Pro Tips for Printing Your Own Wedding Invitations (Save Big!)
Imagine spending $800 or more on wedding invitations — only to realize you could have printed stunning, professional-quality stationery at home for a fraction of the cost. 💍 That’s the reality many couples face when they skip the DIY route. If you’re planning your big day and watching every dollar, these 9 Pro Tips for Printing Your Own Wedding Invitations (Save Big!) are exactly what you need. From choosing the right paper to perfecting your color settings, this guide walks you through everything — step by step — so your invitations look like they came straight from a high-end stationery boutique.
Disclosure: This post contains affiliate links. As an Amazon Associate, we earn from qualifying purchases, and at no extra cost to you.
Key Takeaways 📌
- DIY printing can save couples hundreds of dollars compared to professional stationery services.
- Paper quality and weight are the single biggest factors in making home-printed invitations look professional.
- Color calibration and test prints are non-negotiable steps before your final print run.
- Trending 2026 designs — including minimalist typography and botanical motifs — are easy to replicate at home [1][2].
- The right printer settings (resolution, paper type profile) make the difference between amateur and polished results.
Why Print Your Own Wedding Invitations in 2026?
Wedding costs are climbing. According to industry data, the average couple spends between $400 and $900 on professionally printed wedding invitations when you factor in design fees, printing, and postage. By going the DIY route, many couples report saving 60–75% on their stationery budget — money that can go toward the honeymoon, catering, or décor.
Beyond cost savings, printing your own invitations gives you complete creative control. You can match your exact color palette, tweak wording right up until the last minute, and experiment with 2026’s hottest invitation trends — like sustainable paper stocks, botanical illustrations, and bold minimalist typography [2][6].
“The best wedding invitations tell your story before guests even arrive at the venue.” [2]
Whether you’re a design novice or a seasoned crafter, the following tips will help you produce invitations that impress.
9 Pro Tips for Printing Your Own Wedding Invitations (Save Big!)
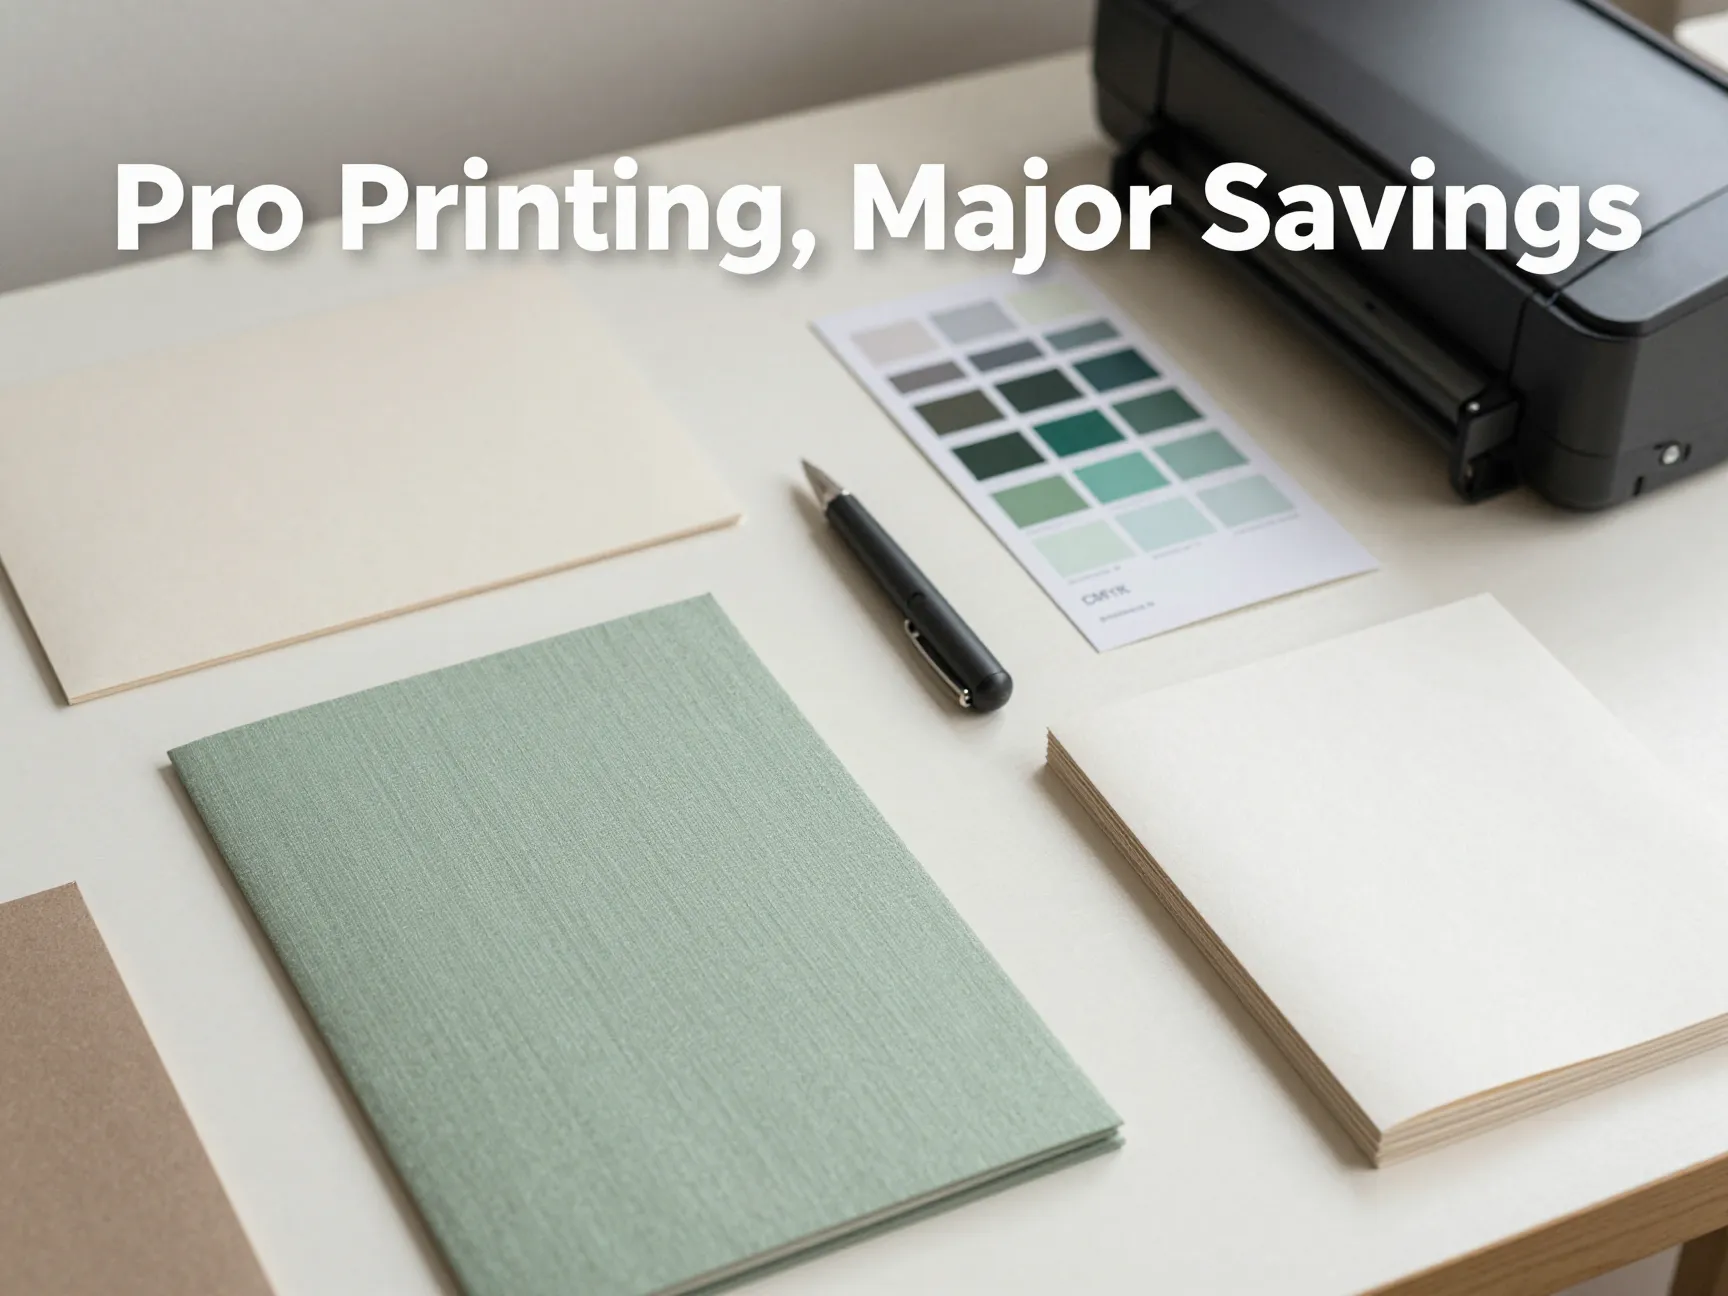
1. Choose the Right Paper Stock — It Changes Everything
The single most important decision you’ll make is your paper choice. Thin, flimsy paper immediately signals “home printed.” Heavy cardstock signals quality and intention.
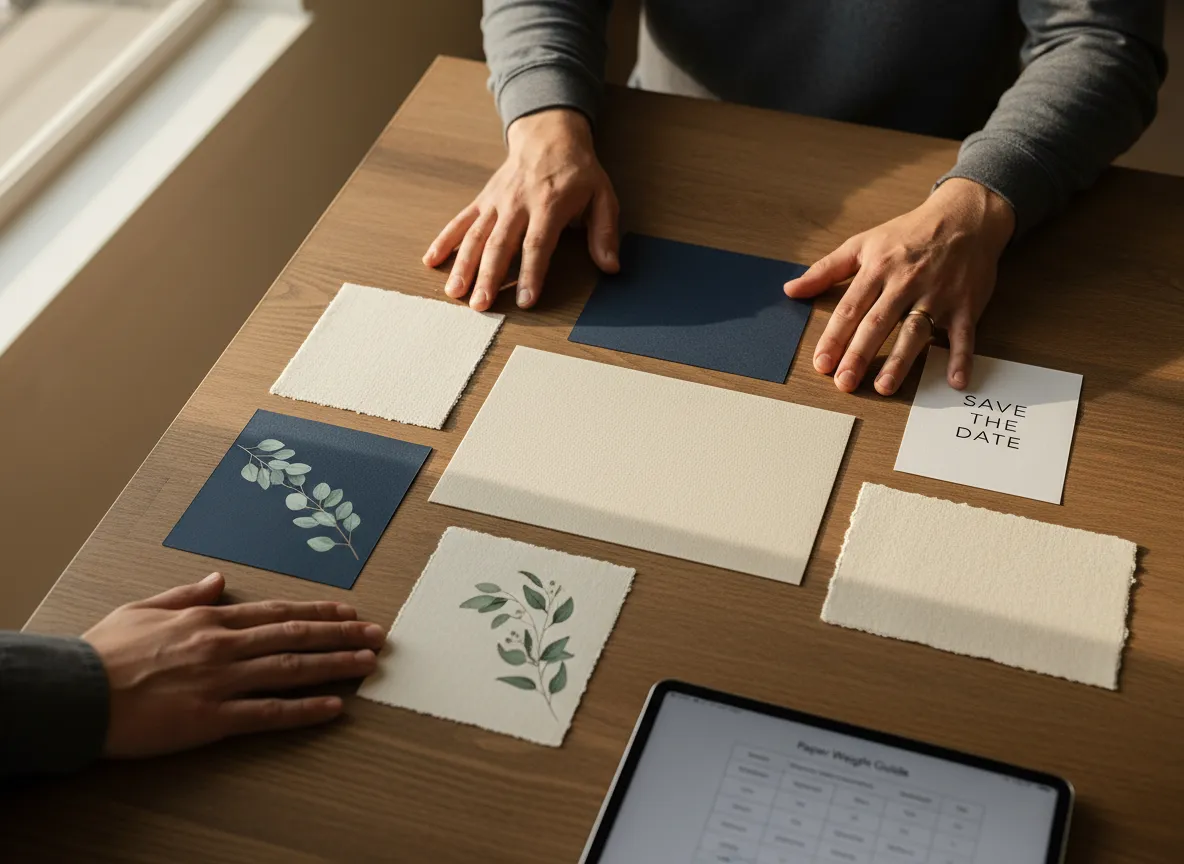
Here’s a quick guide to paper weights:
| Paper Weight | Best For | Feel |
|---|---|---|
| 60–70 lb text | Inserts, RSVP cards | Light, flexible |
| 80 lb text | Everyday printing | Standard |
| 100 lb cover | Main invitation | Substantial, premium |
| 110–130 lb cover | Luxury invitations | Thick, impressive |
Pro tip: Aim for at least 100 lb cover stock for your main invitation card. Look for options labeled “smooth” or “matte” for the cleanest ink absorption. Avoid glossy stock unless you’re using a laser printer — inkjet ink tends to smear on glossy surfaces.
Popular finishes in 2026 include linen texture, soft-touch matte, and cotton rag paper — all of which are available at major craft stores and online retailers [1][5].
2. Calibrate Your Monitor and Printer Colors Before You Print
Nothing is more frustrating than designing a blush-pink invitation on screen and printing something that looks salmon-orange. Color calibration is the step most DIYers skip — and it’s the reason their prints look “off.”
Here’s how to get it right:
- Calibrate your monitor using your operating system’s built-in display calibration tool (search “calibrate display color” in Windows or use System Preferences > Displays on Mac).
- Set your design file to CMYK color mode rather than RGB. Printers use CMYK, and RGB colors don’t always translate accurately.
- Download your printer’s ICC color profile from the manufacturer’s website and install it before printing.
- Print a color test swatch sheet on your chosen paper before committing to a full run.
This step alone can save you from wasting an entire ream of expensive cardstock.
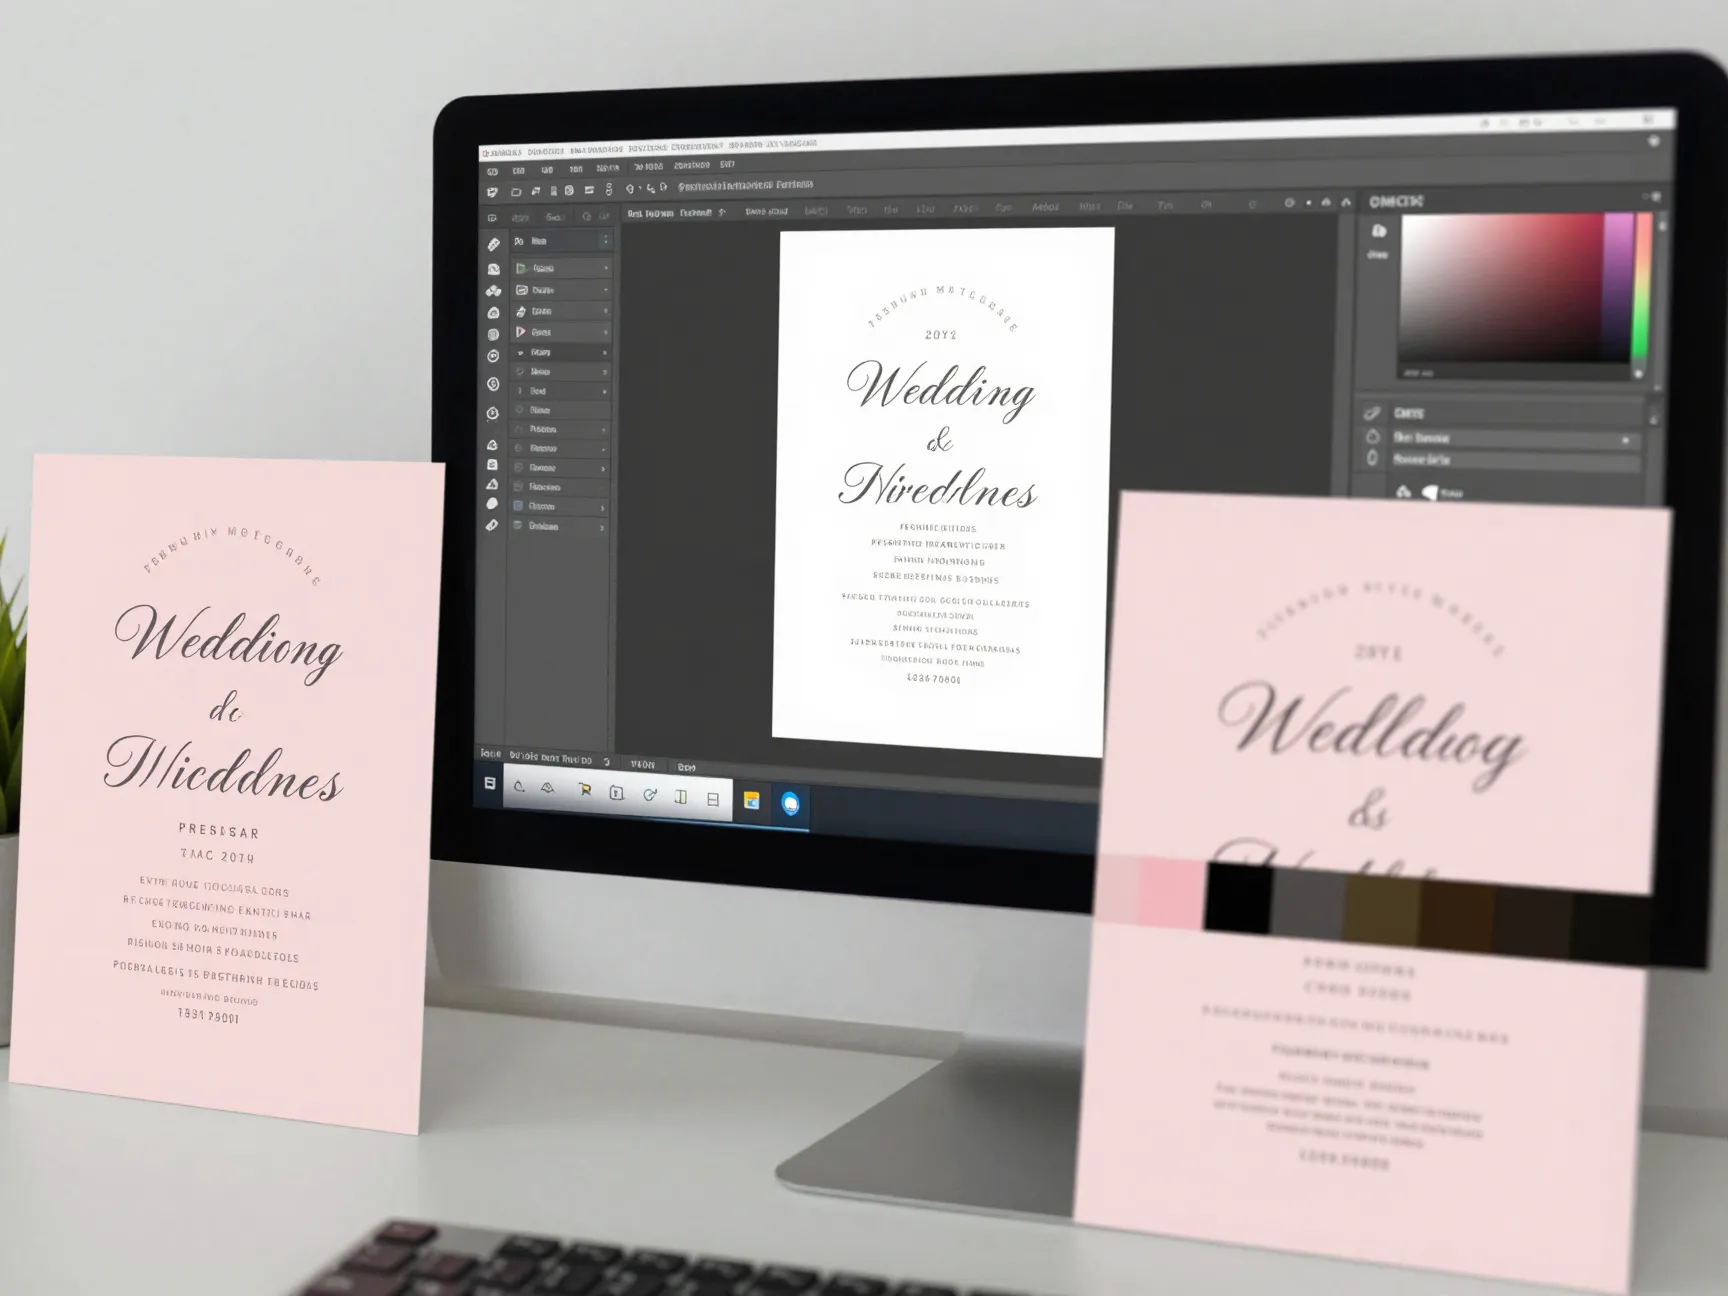
3. Use a High-Resolution Design File (300 DPI Minimum)
If your invitation design looks sharp on screen but blurry or pixelated when printed, resolution is the culprit. Screens display images at 72–96 DPI (dots per inch), but printing requires a minimum of 300 DPI for crisp, professional results.
What to do:
- If you’re designing in Canva, export as a PDF Print file — Canva automatically outputs at 300 DPI.
- In Adobe Illustrator or InDesign, always work in print resolution from the start.
- If you’re downloading a template, confirm the file specs say “300 DPI” or “print-ready.”
- Avoid enlarging low-resolution images (like downloaded clip art) — they’ll pixelate when printed.
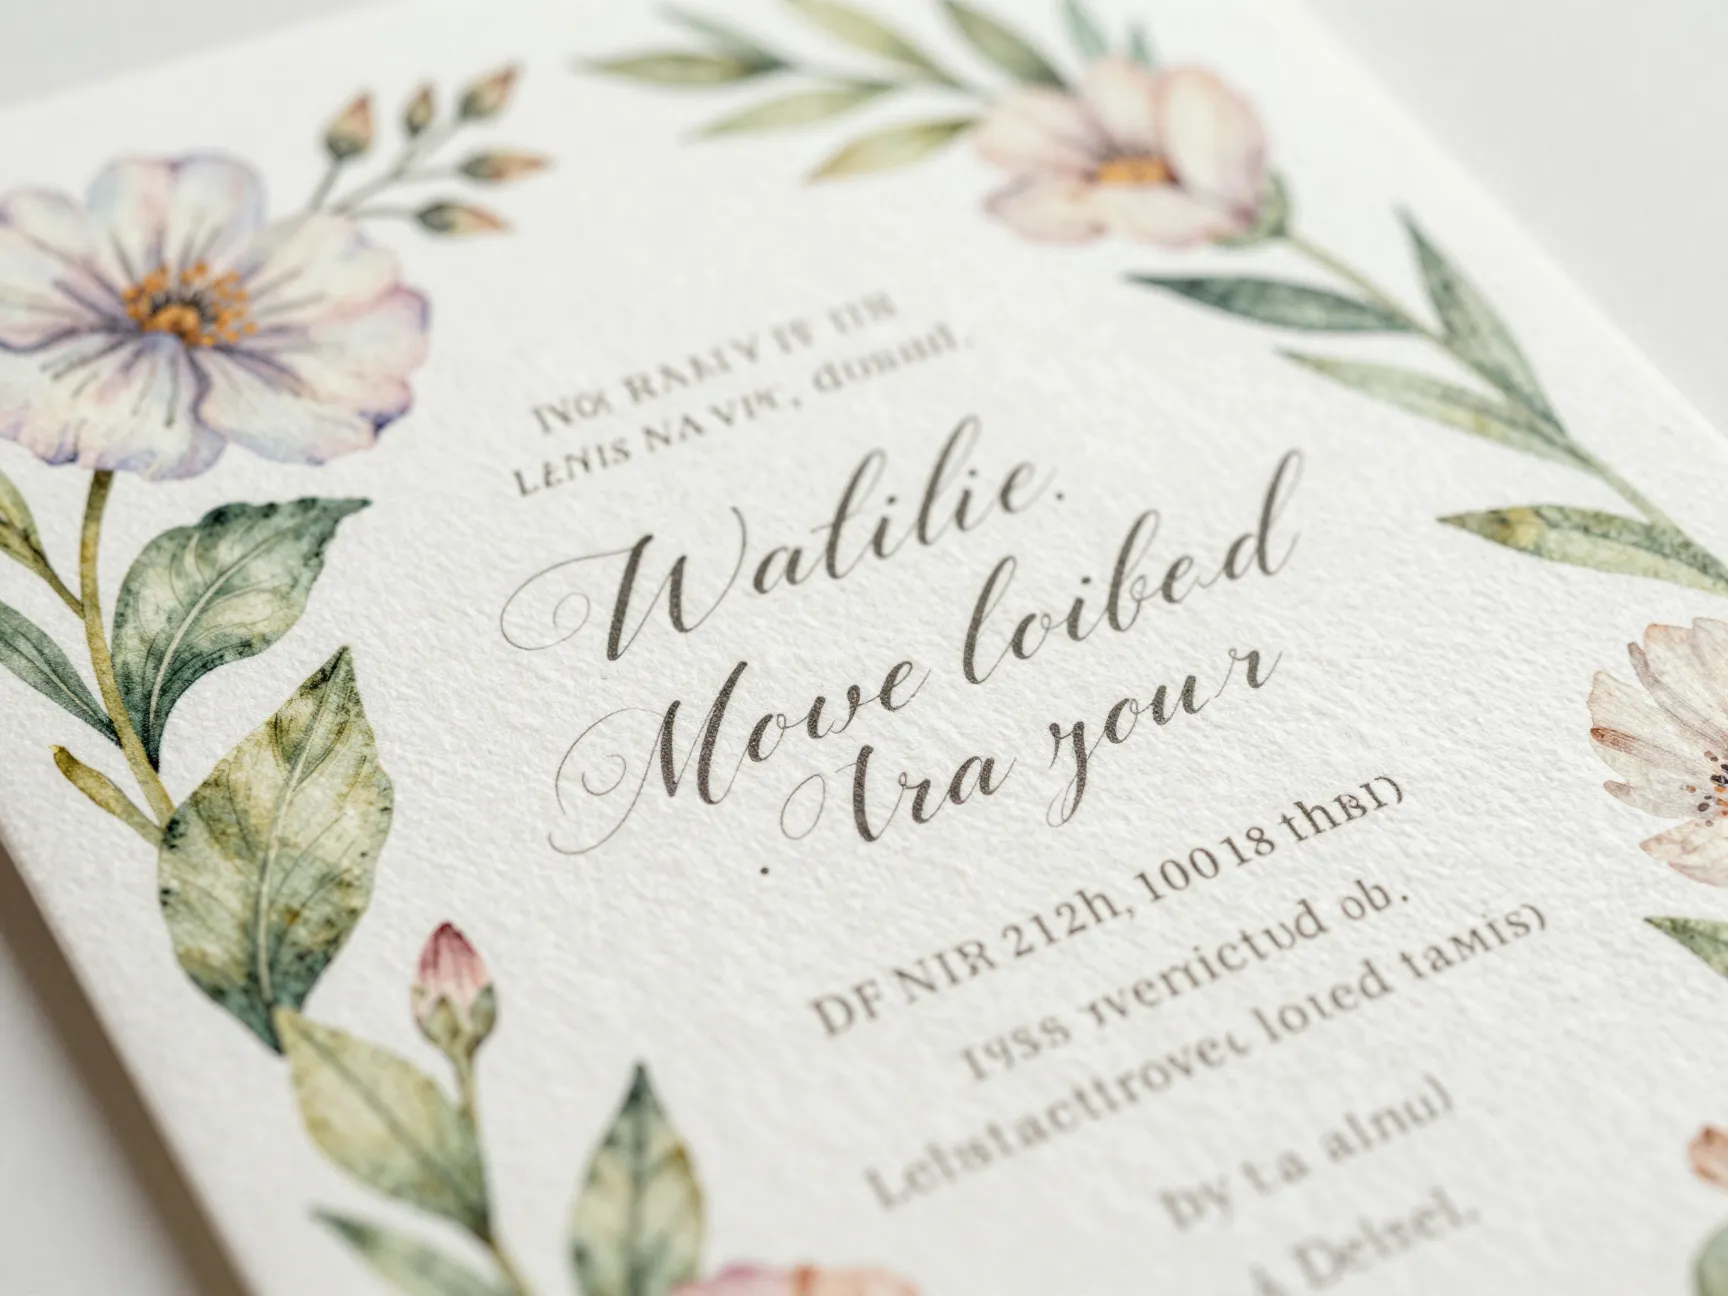
Botanical illustrations and hand-lettered fonts — two of 2026’s biggest invitation trends — look especially stunning when printed at high resolution on textured paper [3][7].
4. Run Test Prints on Regular Paper First
Before you load your premium cardstock, always run a test print on standard copy paper. This is one of the most valuable — and most ignored — steps in DIY invitation printing.
Test prints let you:
✅ Check text alignment and spacing
✅ Verify margins are correct and nothing gets cut off
✅ Confirm colors are printing as expected
✅ Catch typos before they’re printed on 100 sheets of expensive paper
Run at least 2–3 test prints, making small adjustments each time. Once you’re happy with the result on copy paper, do one final test on a single sheet of your actual cardstock before printing the full batch.
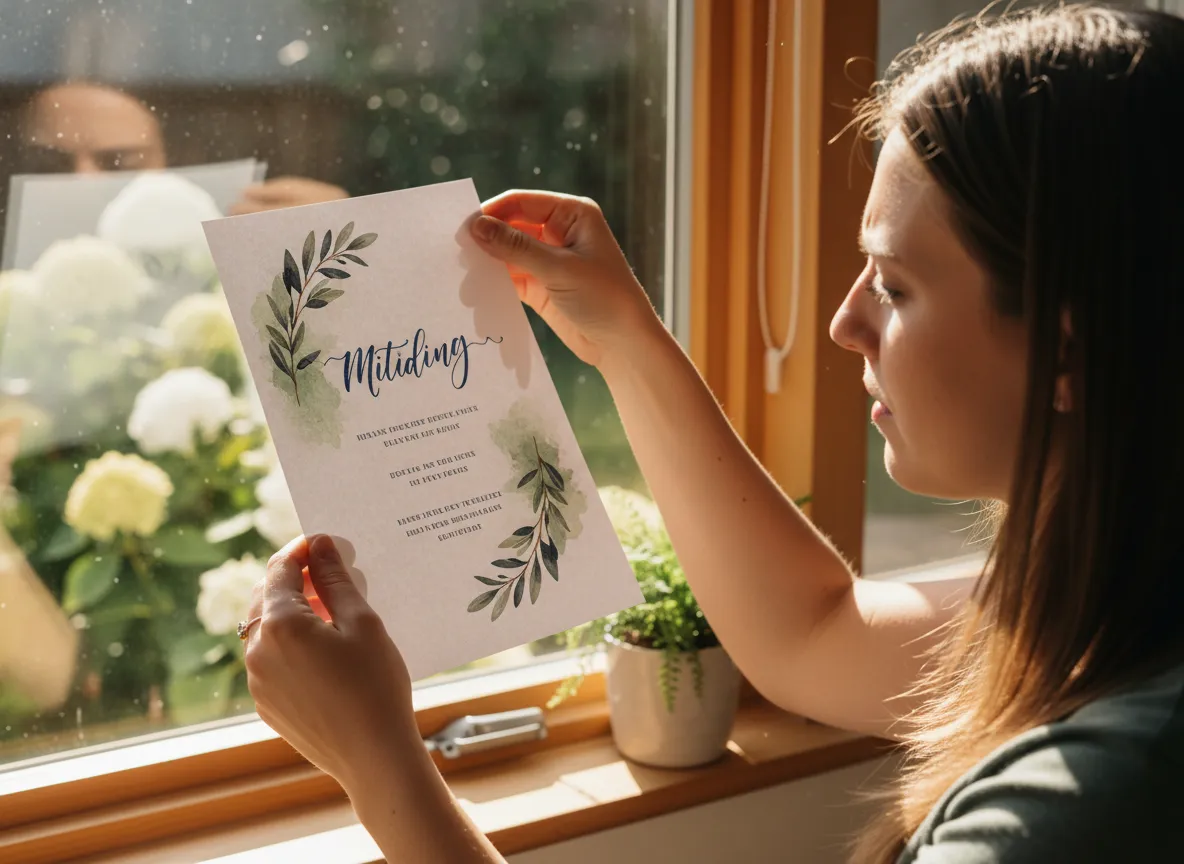
💡 Pro move: Hold your test print up to a window to check for any bleed-through or ink saturation issues on thicker paper stocks.
5. Invest in the Right Printer for the Job
Not all printers are created equal. Your standard all-in-one office printer may struggle with thick cardstock or produce colors that look dull and flat. For wedding invitations, you want a printer that can handle heavier paper weights and produce vibrant, accurate colors.
Top printer types for DIY wedding invitations:
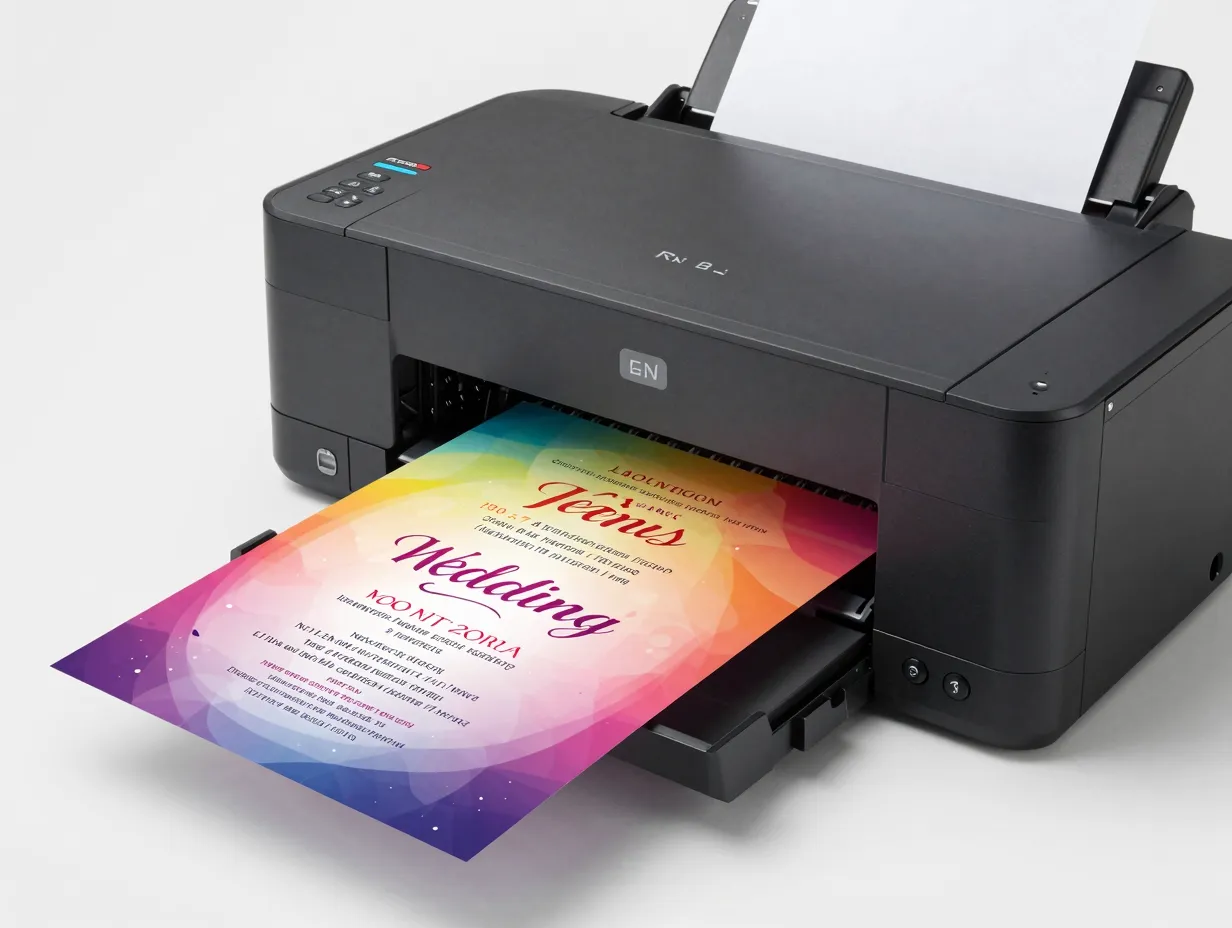
- Inkjet printers — Best for color accuracy and photographic-quality prints. Great for watercolor designs, botanical illustrations, and gradient backgrounds. Look for models with at least 4 ink cartridges (CMYK).
- Laser printers — Better for sharp text and line art. Faster and more cost-effective for large print runs. Works well on glossy and smooth stocks.
Recommended features to look for:
- Rear paper feed tray (handles thick cardstock without bending)
- Borderless printing capability
- At least 4800 x 1200 DPI print resolution
- Individual ink cartridges (replace only what you use)
If your current printer can’t handle 100 lb cardstock, consider renting time at a local print shop or using an online print-on-demand service for the main invitation card while printing inserts at home.
6. Master Your Margins and Bleed Settings
One of the most common DIY printing mistakes is cutting off text or design elements because margins weren’t set up correctly. Professional printers use a concept called bleed — extra design area that extends beyond the final cut line — to ensure nothing important gets trimmed away.
Here’s a simple bleed and margin setup guide:
| Setting | Recommended Value |
|---|---|
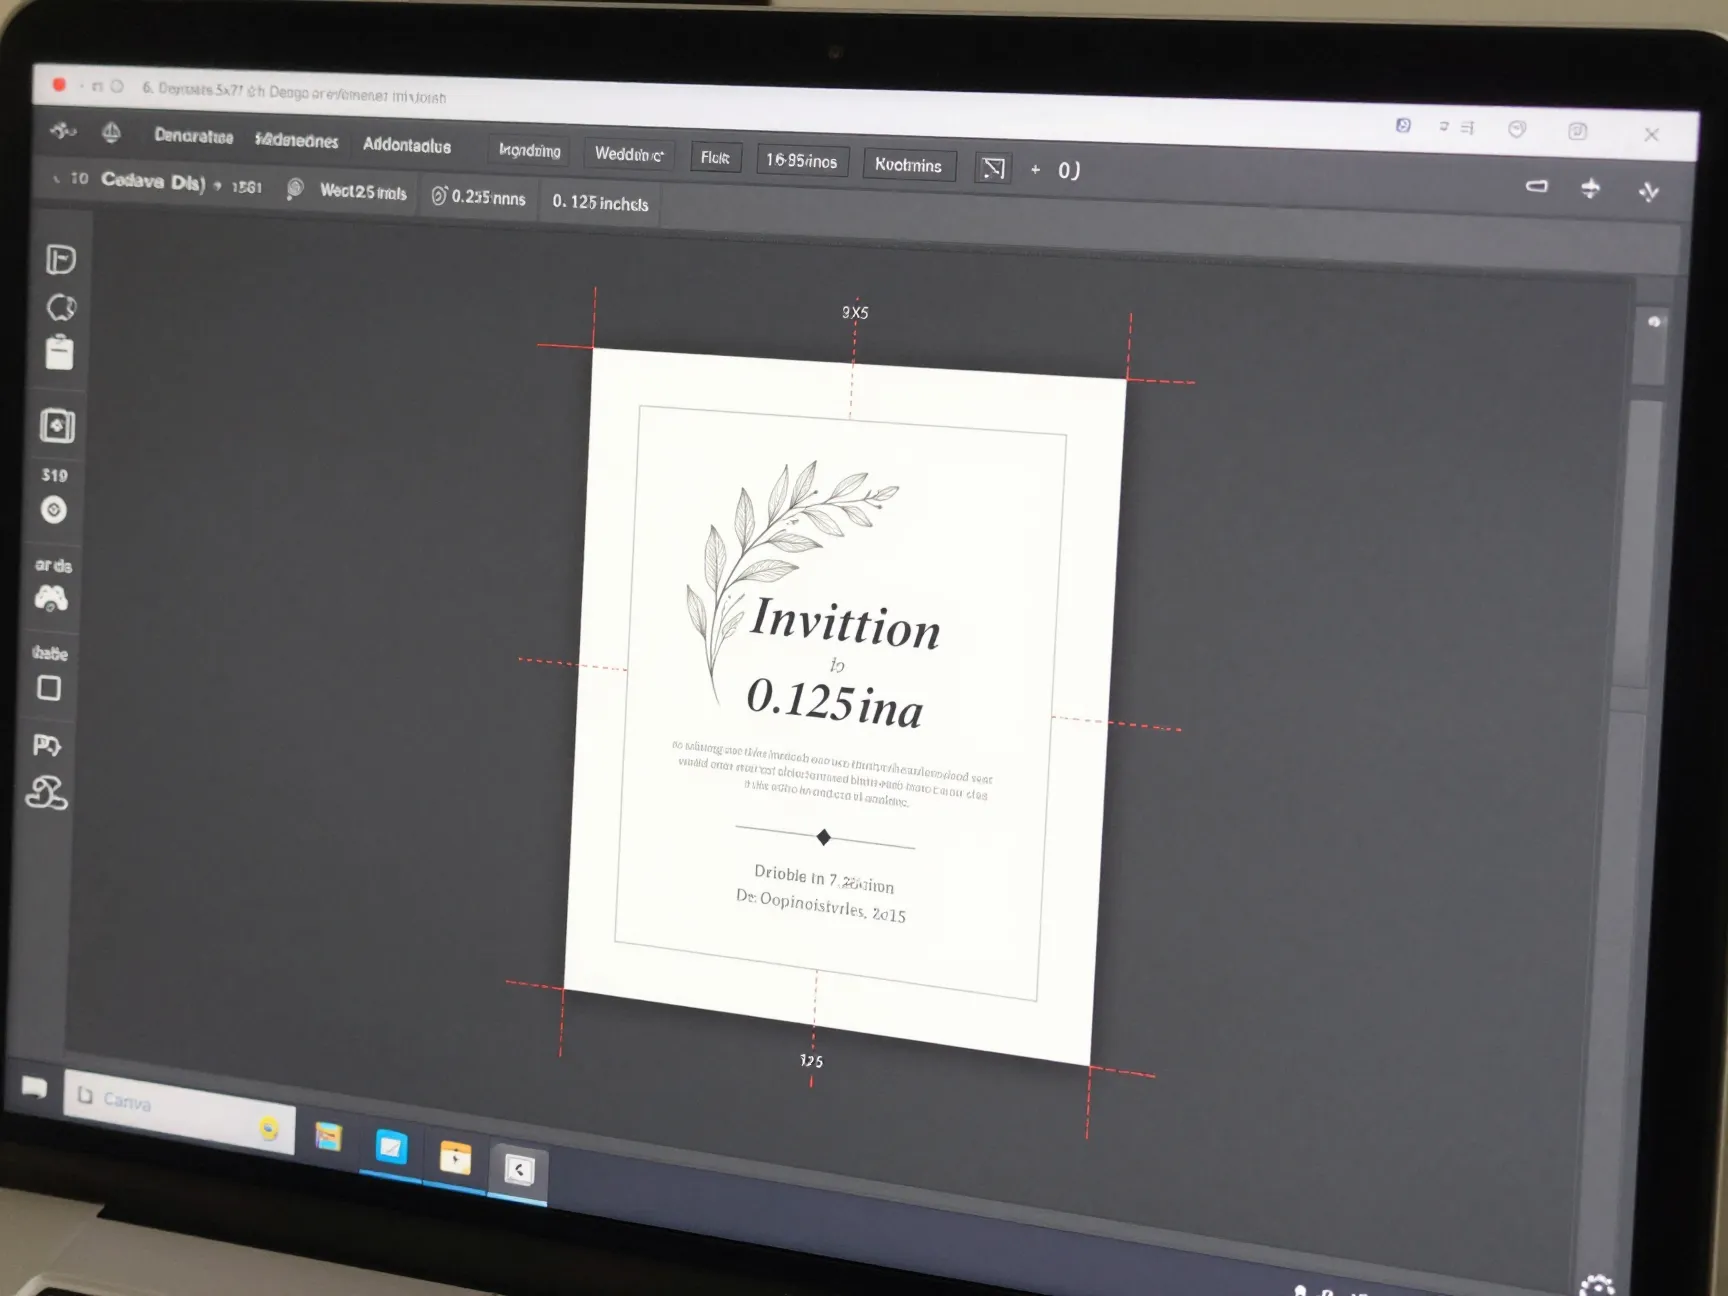
| Bleed (all sides) | 0.125 inches (3mm) |
| Safe zone (margins) | 0.25 inches from edge |
| Standard invitation size | 5×7 inches |
| A7 envelope fit | Designed for 5×7 cards |
In practice: Make sure no text or important design elements sit closer than 0.25 inches from the edge of your card. If your design has a background color or pattern that extends to the edge, extend it 0.125 inches beyond the cut line.
Most design programs like Canva, Adobe InDesign, and even Microsoft Publisher allow you to set these values in your document setup.
7. Score and Cut with Precision — Don’t Eyeball It

Even a perfect print job can be ruined by sloppy cutting. Ragged edges, uneven sizes, and crooked cuts are the telltale signs of a home-printed invitation. The good news? A few inexpensive tools solve this problem completely.
Essential cutting tools:
- Paper trimmer / guillotine cutter — Far more accurate than scissors. A 12-inch trimmer handles standard invitation sizes easily. Look for one with a built-in ruler and alignment grid.
- Bone folder — Used to score paper before folding, creating crisp, clean fold lines without cracking.
- Self-healing cutting mat — Protects your work surface and provides measurement guides.
- Metal ruler — For straight, precise cuts when using a craft knife.
Scoring tip: If your invitation design includes a fold (like a gatefold or folded card), always score the fold line first with a bone folder before folding. This prevents cracking on heavy cardstock and gives a polished, professional finish.
8. Embrace 2026 Invitation Trends That Work Beautifully for DIY Printing
One of the best-kept secrets of DIY invitation printing is that 2026’s hottest design trends are incredibly DIY-friendly. You don’t need a professional designer or specialty printing techniques to achieve a stunning, on-trend look.
Here are the top 2026 trends that print beautifully at home [1][4][6][7]:
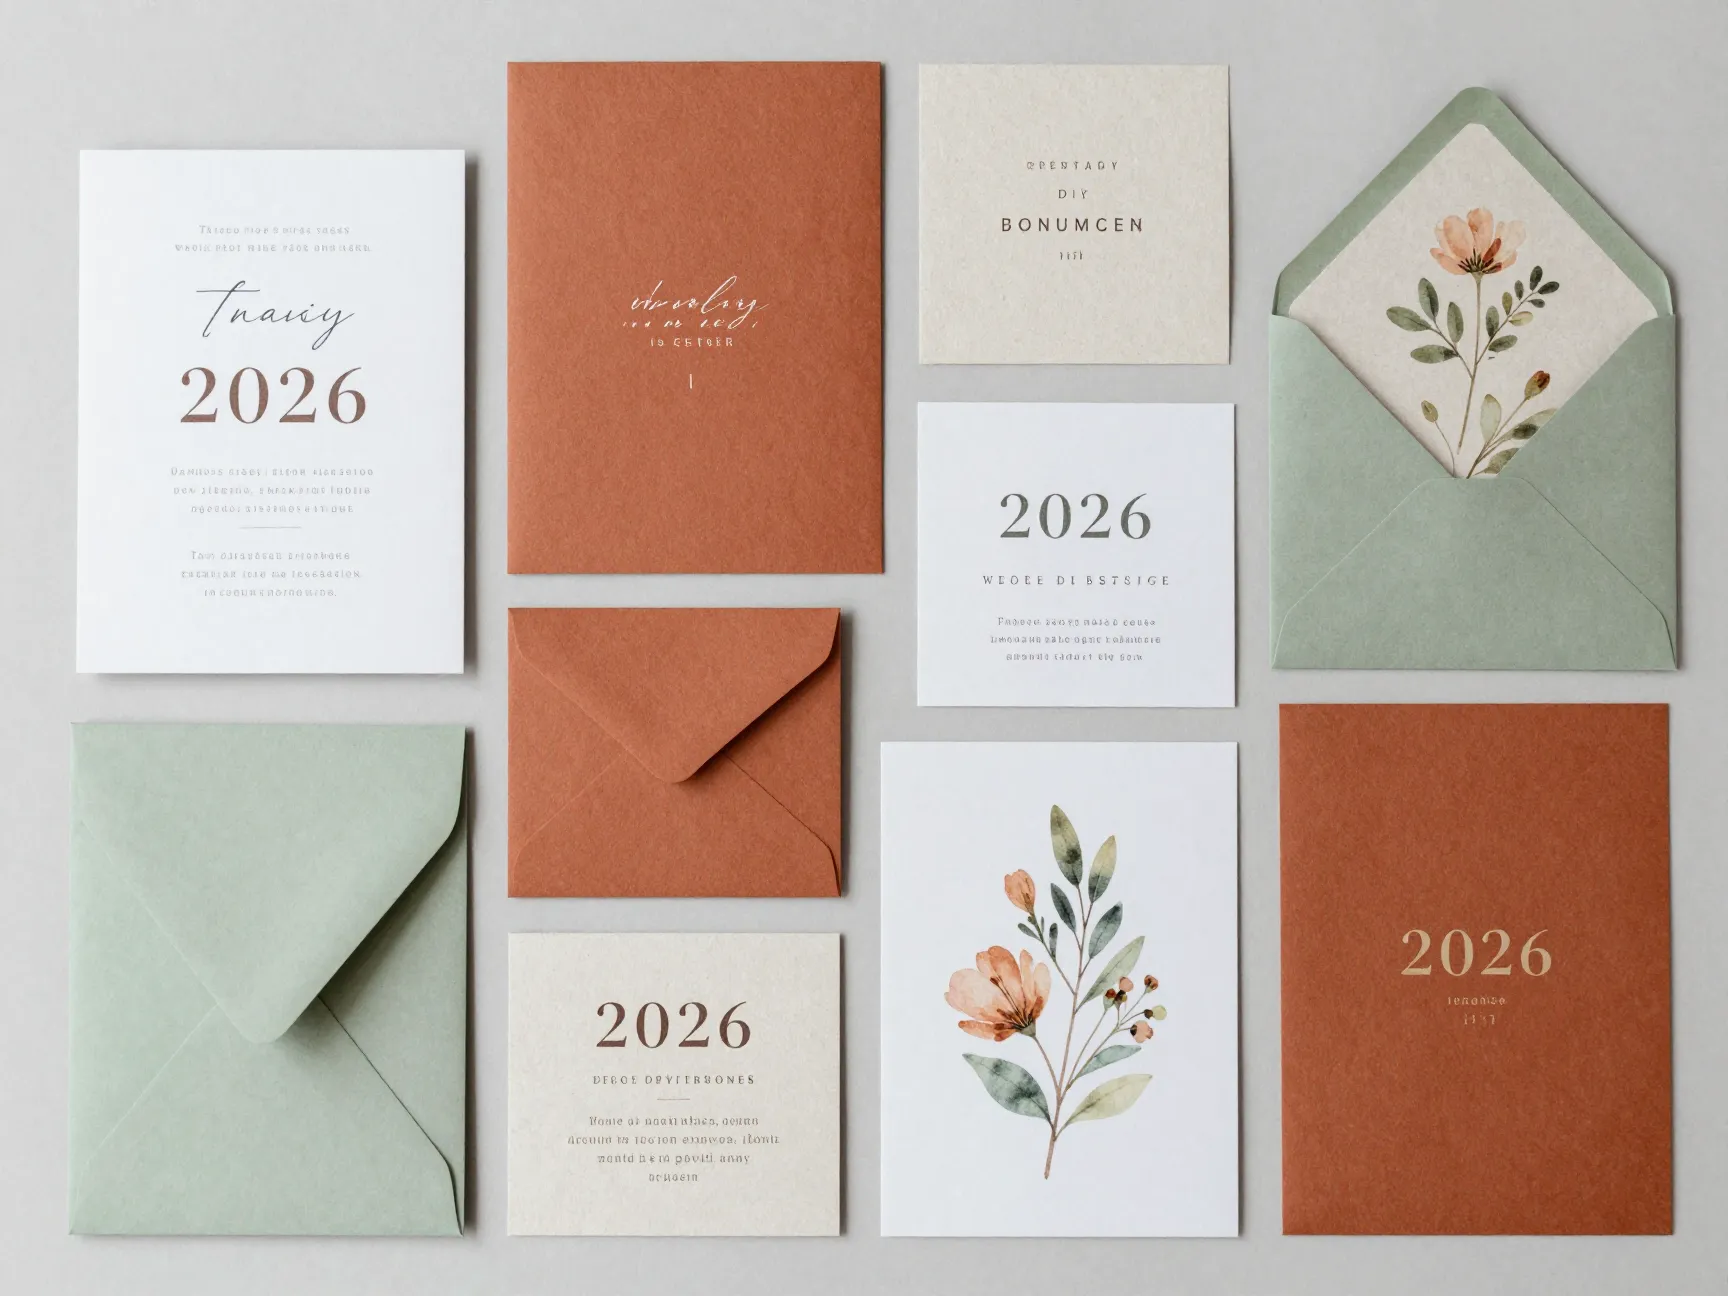
🌿 Botanical and Nature-Inspired Designs
Watercolor florals, pressed flower illustrations, and leafy greenery borders are everywhere in 2026. These designs print beautifully on inkjet printers with matte or linen paper stocks [2].
✍️ Minimalist Typography
Clean, elegant fonts on a simple white or cream background. This style is forgiving for home printers and looks incredibly sophisticated [3][5].
🌍 Sustainable Paper Stocks
Recycled, seed paper, and FSC-certified stocks are trending in 2026 as couples prioritize eco-conscious choices [2][5]. Many of these papers are available for home printing.
🎨 Bold Color Palettes
Deep jewel tones, terracotta, and sage green are popular in 2026 [4][7]. These print well on laser printers and look striking against cream or white cardstock.
Tip: Browse free and low-cost templates on Canva, Etsy, or Creative Market that are already designed around these trends and optimized for home printing.
9. Calculate Your True Cost Savings Before You Start
One of the most empowering steps in the DIY invitation process is doing the math upfront. Knowing exactly how much you’ll save keeps you motivated and helps you make smart decisions about where to splurge (premium paper) and where to save (printing at home vs. a print shop).
Here’s a sample cost comparison:
| Item | Professional Service | DIY at Home |
|---|---|---|
| Design fee | $150–$300 | $0–$30 (template) |
| Printing (100 invites) | $250–$500 | $40–$80 (ink + paper) |
| Envelopes | $30–$60 | $20–$40 |
| Assembly | Included | Your time |
| Total (estimated) | $430–$860 | $60–$150 |
Potential savings: $370–$710 per 100 invitations 💰
Of course, your savings depend on your printer, paper choice, and design complexity. But even in a worst-case DIY scenario, most couples save at least 50% compared to full-service professional printing.
“Couples who print their own invitations consistently report that the process felt empowering — and that guests couldn’t tell the difference from professionally printed stationery.”
Before you start, calculate:
- Number of invitations needed (add 15–20 extra for mistakes and keepsakes)
- Cost per sheet of your chosen cardstock
- Estimated ink usage (check your printer’s page yield data)
- Envelope costs
- Any additional inserts (RSVP cards, direction cards, etc.)
Common Mistakes to Avoid When Printing Wedding Invitations at Home
Even with the best tips, a few pitfalls trip up first-time DIY invitation printers. Here’s what to watch out for:
❌ Printing in draft mode — Always print in “Best” or “High Quality” mode for final prints.
❌ Ignoring printer warm-up — Let your printer run a test page before your main print job to ensure ink is flowing evenly.
❌ Rushing the drying time — Inkjet prints need 5–10 minutes to fully dry before handling. Smudging is common when prints are stacked too quickly.
❌ Forgetting to proofread — Have at least two other people read your invitation text before printing. Typos on 100 invitations are an expensive mistake.
❌ Buying all your paper at once — Purchase a small test batch first to confirm compatibility with your printer before buying in bulk.
Conclusion: Your Beautiful DIY Wedding Invitations Are Within Reach 🎉
Printing your own wedding invitations isn’t just a budget-friendly choice — it’s a deeply personal one. When you follow these 9 Pro Tips for Printing Your Own Wedding Invitations (Save Big!), you’re not just saving money. You’re creating something handcrafted and meaningful that sets the tone for your entire celebration.
Here are your actionable next steps:
- Set your budget and calculate your target savings using the cost comparison table above.
- Choose your design style — browse 2026 trends and select a template that excites you [1][4].
- Order paper samples before committing to a full ream.
- Calibrate your printer and run test prints before touching your premium cardstock.
- Invest in a quality paper trimmer for clean, professional cuts.
- Give yourself plenty of time — start the printing process at least 6–8 weeks before your invitation send date.
Your guests will be impressed. Your wallet will thank you. And you’ll have the satisfaction of knowing that every beautiful invitation was made with your own hands. 💌
References
[1] 2026 Wedding Invitation Trends What S In How To Use Them – https://lilyandroeco.com/blogs/news/2026-wedding-invitation-trends-what-s-in-how-to-use-them
[2] 2026 Wedding Trends That Tell Your Story – https://botanicalpaperworks.com/blog/2026-wedding-trends-that-tell-your-story/
[3] Modern Wedding Invitation Trends – https://www.shutterfly.com/ideas/modern-wedding-invitation-trends/
[4] 2026 Wedding Invitation Trends Were So Excited About 172107 – https://blog.carlsoncraft.com/fresh-trends/2026-wedding-invitation-trends-were-so-excited-about-172107.html
[5] The Top 5 Wedding Stationery Trends Brides Are Loving For 2026 Weddings – https://www.papermuse.co/post/the-top-5-wedding-stationery-trends-brides-are-loving-for-2026-weddings
[6] Wedding Invitation Trends – https://www.theknot.com/content/wedding-invitation-trends
[7] Top 5 Wedding Invitation Trends For 2026 – https://www.adlerranch.com/adlerblog/top-5-wedding-invitation-trends-for-2026